Maintenance
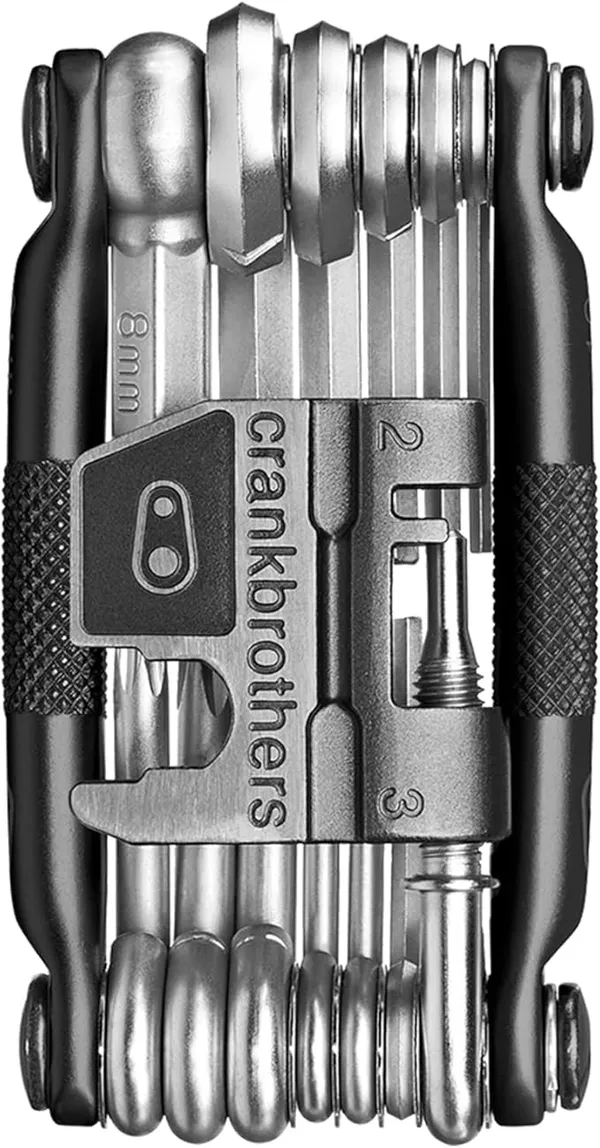
Best Bikepacking Repair Kit: 7 Tools That Get You Home
The multi-tool, pump and spares that turn a ride-ending mechanical into a twenty-minute roadside stop. Five picks we would carry on a remote gravel route.
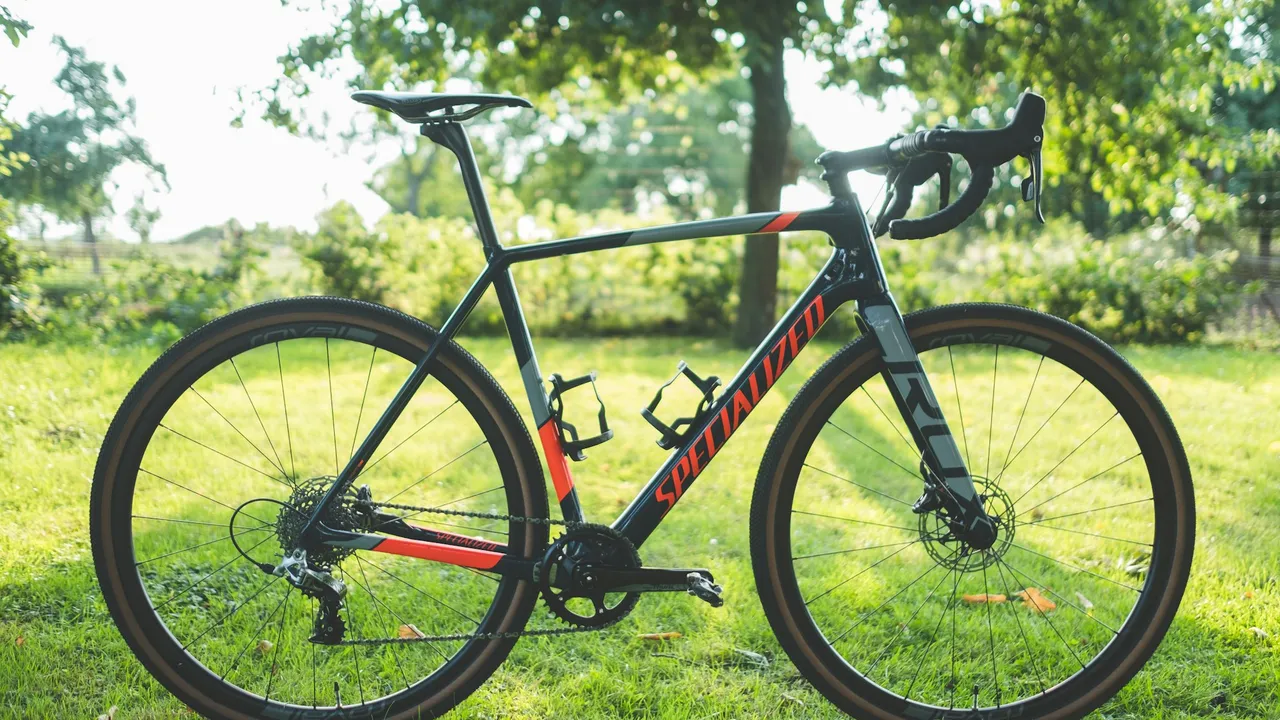
Pressure only makes sense once the tyre is wide enough, and most loaded riders are on tyres that are too narrow.
| Surface | Width | Why |
|---|---|---|
| Smooth gravel, some tarmac | 40 to 42 mm | Fast, adequate, the minimum for loaded riding |
| Mixed gravel, washboard | 45 to 50 mm | The default for most bikepacking |
| Chunky, loose, embedded rock | 50 mm and up | Where a wider tyre stops being optional |
| Anything with hike-a-bike | 2.1 inch and up | You are on a mountain bike and should be |
Loaded, a wider tyre is not a comfort upgrade. Extra weight increases the energy lost every time the wheel is deflected upward by a rock, and a wider tyre at lower pressure absorbs that deflection instead of transmitting it. On rough surfaces, wider is genuinely faster as well as more comfortable.
For a 45 mm tubeless tyre and a total system weight of about 90 kg, which is a 75 kg rider plus a 10 kg bike plus 5 kg of kit and water:
1.9 bar (28 psi) front, 2.1 bar (30 psi) rear.
Adjust by roughly 0.07 bar (1 psi) for every 2 kg the whole loaded system differs from 90 kg. Go up about 3 psi if you are running tubes, because you have no sealant and a pinch flat is now a possibility.
Go up for a 40 mm tyre and down for a 50 mm one, because the same deflection at a bigger air volume needs less pressure.
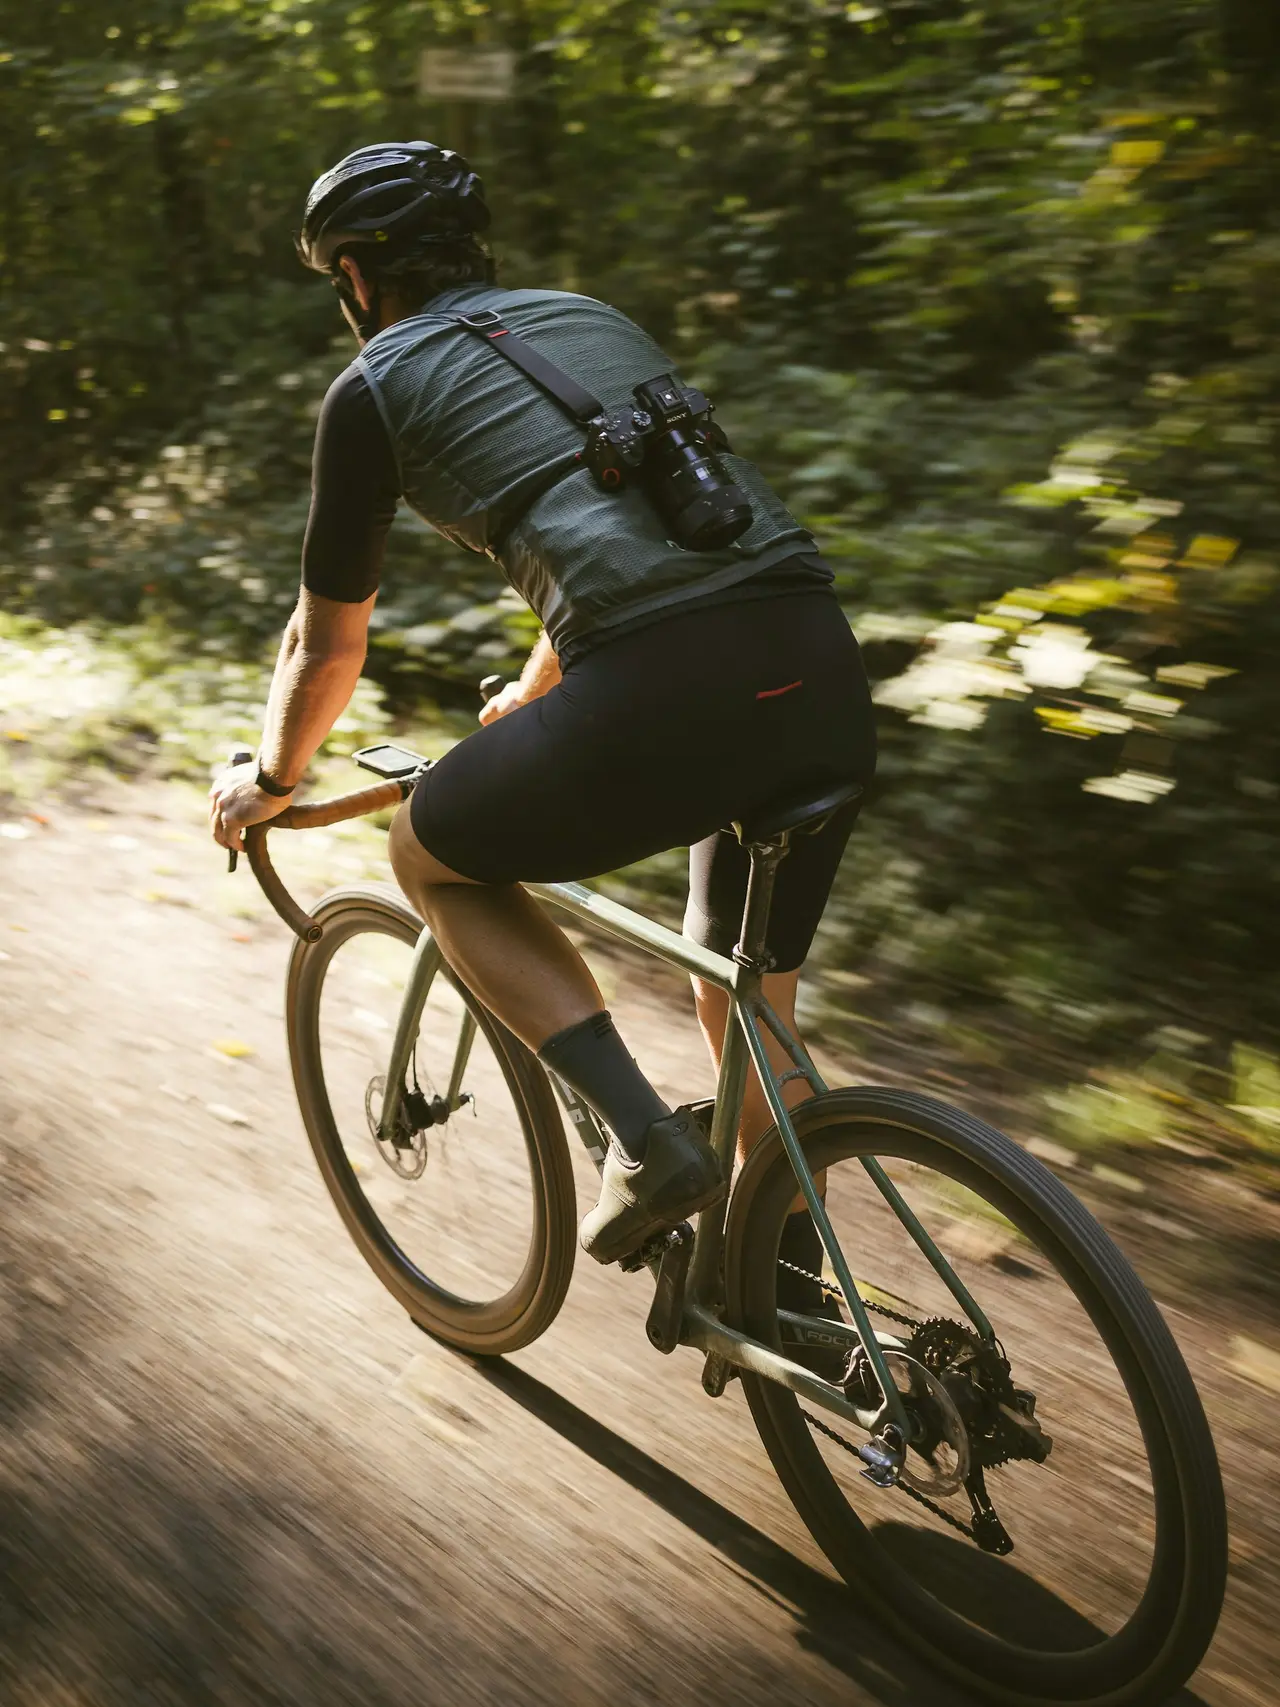
This is the part almost everyone gets wrong.
People set pressure by rider weight, then hang 8 kg of kit off the bike and ride the same numbers. On a 75 kg rider that is a 10 percent increase in what the tyres carry, and it lands disproportionately on the rear where the seatpack is.
So set your pressure loaded, with water in the bottles, the way you will actually ride. Or at minimum add 3 psi to the rear over your unloaded setting and accept that it is an approximation.
How Much Should a Bikepacking Setup Weigh?
Real weights for a weekend bikepacking setup, where the kilos actually hide, and the point at which chasing grams stops making you faster.
Start at the figures above and go down in 2 psi steps over a few rides.
Stop when one of three things happens: you strike the rim on square-edged hits, the rear feels vague and squirms in corners, or you burp air when cornering hard. Then add 2 psi back. That is your pressure, and it is almost certainly lower than what you were running.
Do this once on the terrain you actually ride, not on a smooth road. The number that works on a fire road is wrong for embedded rock and the other way around.
How to Fix Tubeless Punctures on the Trail
Sealant will not close a gash. How to plug a tubeless tyre at the roadside, when to give up and fit a tube, and what to carry for both.
Pressure drifts. Tubeless setups lose noticeably more than tubed ones, and a tyre you set on Friday is meaningfully softer by Sunday.
Check it every morning of a multi-day trip. That is the actual reason to carry a pump with a gauge rather than a bare mini-pump, and it is a thirty second job that keeps the numbers above meaning something for the whole trip.
Fixing a Broken Spoke in the Field
What to do when a spoke goes 60 km from anywhere: stop the wheel rubbing, true it roughly by feel, and know when to stop riding it.
Sidewall ranges are legal and safety limits set for the worst case, usually an unloaded rider on tarmac with a tube. They are not a recommendation. Treating the minimum on the sidewall as a floor is why most riders run 10 psi more than they should on gravel.
Yes, and it is the most commonly ignored variable. Eight kilos of kit on a 75 kg rider is a 10 percent increase in system weight, which is roughly 3 psi more at the same tyre deflection. Riders who set pressure unloaded and then load the bike are running under-inflated at the rear and do not know it.
Up to the point your frame and your speed allow, largely yes. Wider tyres run lower pressure, deflect less on impact and roll faster on rough surfaces because they lose less energy to vertical movement. The costs are weight, aerodynamic drag above about 30 km/h and whatever your frame clearance allows.
Yes. The rear carries more weight, especially loaded with a seatpack, so it wants roughly 2 psi more. Running them equal means either a harsh front or a rear that squirms and risks rim strikes. Two psi is the standard split and it is worth doing properly.
Rim strikes on square-edged hits, a rear tyre that feels vague and squirms in corners, and burping air on hard cornering if you are tubeless. Go up in 2 psi steps until those stop, then leave it. The right pressure is the lowest one that does not do those things.
The multi-tool, pump and spares that turn a ride-ending mechanical into a twenty-minute roadside stop. Five picks we would carry on a remote gravel route.
Sealant will not close a gash. How to plug a tubeless tyre at the roadside, when to give up and fit a tube, and what to carry for both.
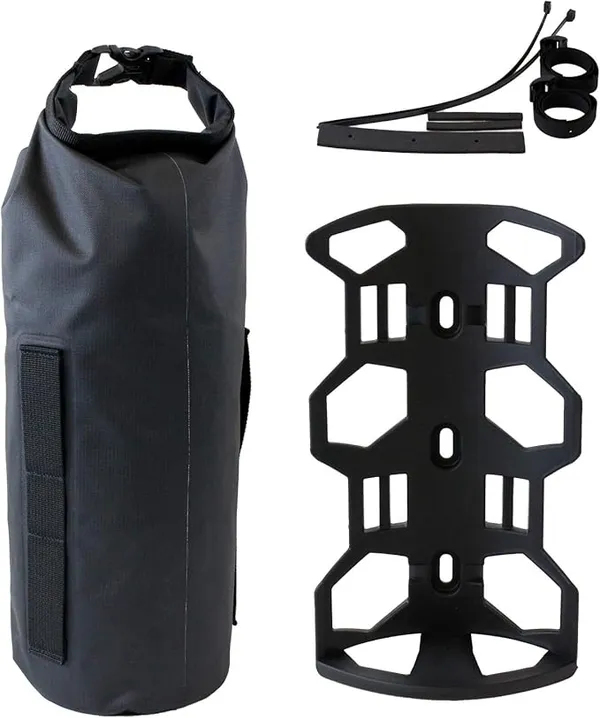
Six ways to use the empty space on your fork legs, from a $33 cage-and-bag set to a clamp mount for forks with no bosses. Load limits and what balance does.
Mark is accustomed to carrying his body weight in water across the Southwest. Meticulous about load distribution, if a piece of gear rattles or rubs, Mark will find a way to fix it with a Voile strap and some duct tape.