Maintenance
The Broken Chain Reality: Field Repair Basics for Rocky Tech
A broken chain is a mechanical death sentence in the backcountry. Learn the basics of field repair, including how to use a chain tool and master links.
It starts the same way every time: a sharp flint or a shard of glass opens the sidewall, white sealant sprays across the seat tube, and pressure is gone in seconds. Whether you finish the ride depends almost entirely on what you did before it happened.
Most gravel riders rely entirely on liquid sealant to fix punctures automatically. Sealant works perfectly for tiny goathead thorns in the desert but fails miserably on glass cuts or jagged rock slices. You must know how to deploy a plug correctly before the tire goes completely flat.
If you are slow to react, you lose all your air and the bead unseats from the rim entirely. Reseating a tubeless bead on a dusty trail with a high-volume hand pump is a punishing and nearly impossible task.
Speed is absolutely critical when dealing with a larger puncture that overwhelms your sealant. Keep your plug kit immediately accessible in a top tube bag or an outer jersey pocket. Do not bury it at the bottom of your saddlebag under your spare rain jacket.
Load a plug onto the insertion tool before you start the ride. Threading a sticky bacon strip through a tool eyelet with cold hands while the tyre empties is the step that goes wrong, and it is entirely avoidable at home. Tools like the Dynaplug Racer Pro come pre-loaded and save precious seconds.
The Broken Chain Reality: Field Repair Basics for Rocky Tech
A broken chain is a mechanical death sentence in the backcountry. Learn the basics of field repair, including how to use a chain tool and master links.
When you hear that distinct hiss of air loss, brake immediately and find the hole. Rotate the wheel so the puncture sits at the lowest point nearest the ground. This forces the liquid sealant directly over the cut to aid in sealing while you grab your tool.
Pushing a dry plug into a tight reinforced tire casing requires significant physical force. It often feels like you are going to push the tool straight through the rim tape on the other side. Jab the tool straight into the hole until only a small fraction of the plug remains visible on the outside.
Do not twist the tool on the way in or out. Twisting can tear the casing further or snap the bacon strip entirely. Pull the tool out quickly and cleanly in one straight motion.
Best Budget Bikepacking Gear 2026: 10 Affordable Essentials
A full bikepacking setup without the flagship prices. Ten budget picks under $120 each, with the three that are false economy named.
The plug will stay lodged securely in the tire casing and stop the air loss. Spin the wheel rapidly a few times to let the remaining liquid sealant coat the inside of the new plug. This fills any microscopic gaps around the repair.
Fixing a puncture in the center tread is entirely different from fixing a sliced sidewall. Center tread punctures are usually clean holes from nails or wire which plug very easily. A sidewall slice from a sharp rock on a fast descent is jagged and under immense structural stress.
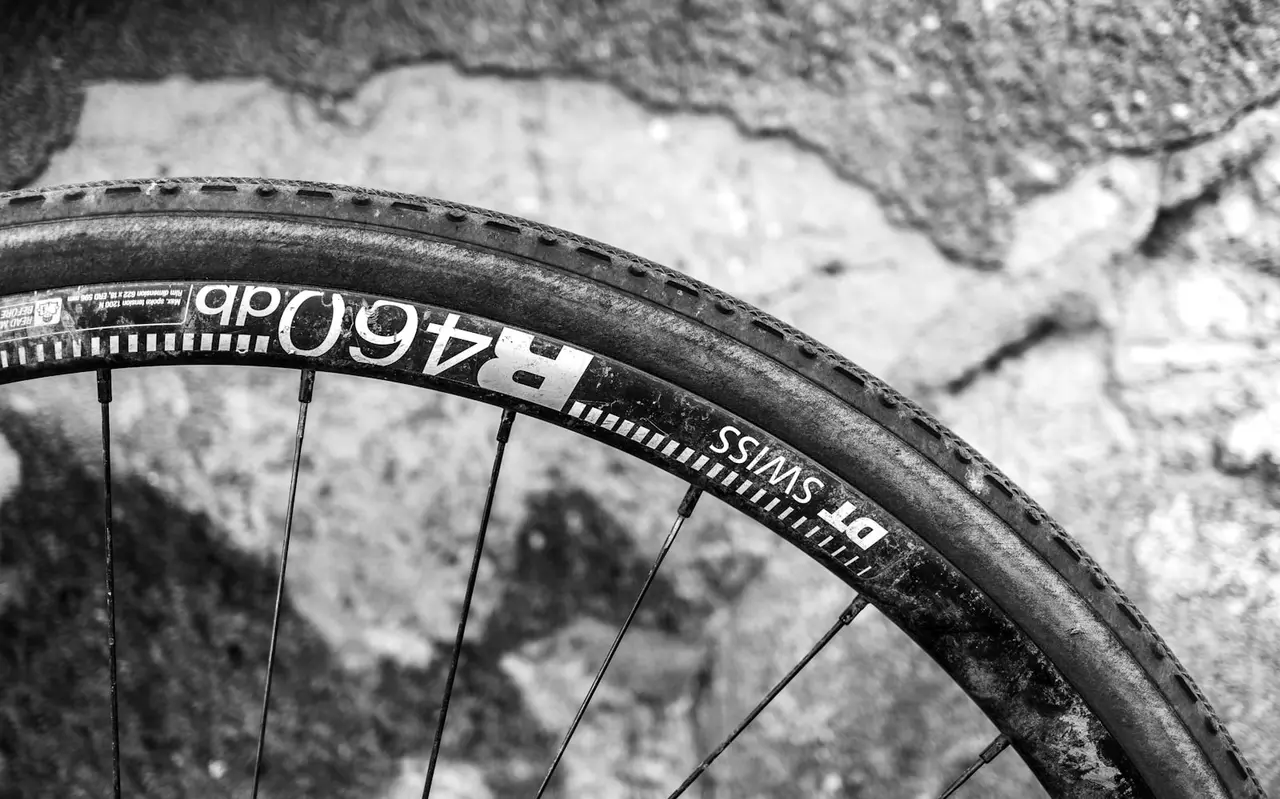
If you slice a sidewall on rough terrain, a single plug will rarely hold. You often need to insert two or three bacon strips side-by-side to fill a larger slash. The plug will inevitably get ripped out by a sharp rock if you do not trim the excess material flush with the casing.
Even then, a heavily plugged sidewall will bulge outwards under high tire pressure. If you are riding heavy chunk or carrying a loaded bikepacking rig, a sidewall boot and an inner tube is the only safe way to finish the route. Tubeless plugs are permanent fixes for the tread, but they are merely temporary bandages for the sidewall.
The right fix depends entirely on what kind of hole you have, and the three cases need different responses.
A small tread puncture under about 3mm will usually seal itself. Spin the wheel so the hole is at the bottom, let the sealant find it, and give it thirty seconds before you do anything else. Most riders start pulling out tools while the tyre is already fixing itself.
A larger tread hole needs a plug. Anything from roughly 3mm to about 6mm takes a bacon strip and holds fine for the rest of the trip and often for the life of the tyre.
A sidewall cut is the one that ends the tubeless attempt. Sidewalls flex too much for a plug to stay seated and the casing there is thin. Go straight to a tube.
The plug fails more often from technique than from the plug itself.
Leave the object in place until you have the tool ready. Pulling a thorn out first means sealant sprays everywhere and pressure drops before you can act.
Push the insertion tool in at the angle the hole was made, not perpendicular to the tyre. Forcing a straight-in path through an angled cut enlarges it. Insert until roughly a centimetre of plug remains proud, then withdraw the tool with a firm twist so the plug stays behind.
Do not trim the tail flush immediately. Leave it long, reinflate, and ride a few hundred metres. The tail wears down against the road at exactly the right length and the plug beds in under pressure. Cutting it flush first is the most common reason a plug creeps out.
There is a point where persisting with tubeless costs more time than fitting a tube, and recognising it early is worth more than any tool.
Fit the tube if the cut is in the sidewall, if two plugs have already failed in the same hole, or if the bead has unseated and you have no way to reseat it. A hand pump will rarely reseat a gravel tyre that has come fully off the shoulder.
Before the tube goes in, sweep the inside of the tyre with a finger for anything still embedded. A tube fitted over a thorn you missed will puncture within a mile.
Sealant and tubes tolerate each other badly. Wipe out what you can, and expect the tube to come out coated.
A cut long enough to let a tube bulge through needs a boot behind it, or the tube will herniate and blow at pressure.
A folded energy gel wrapper, a section of old tyre casing or a purpose-made boot all work. Sit it between the tube and the tyre so it spans the cut with a good overlap, then inflate slowly and watch the area. Run lower pressure than usual for the rest of the ride.
Carry one boot regardless of how good your sealant is. It weighs nothing and it is the difference between finishing and walking.
Roughly up to 3mm in the tread, and only if you give it a chance. Spin the wheel so the hole is at the bottom and wait thirty seconds before reaching for a tool. Sidewall holes of any size rarely seal because the casing flexes too much.
Usually because the tail was trimmed flush straight away. Leave a centimetre proud, reinflate and ride a short distance so the plug beds in under pressure and the tail wears down naturally. Inserting perpendicular to an angled cut also enlarges the hole.
Sidewall cuts, any hole that has already defeated two plugs, or a bead you cannot reseat with a hand pump. Recognising that point early saves more time than any tool in the kit.
Yes, and it will be messy. Wipe out what sealant you can, sweep the inside of the casing with a finger for embedded debris, and expect to throw the tube away later. A thorn you missed will puncture the new tube within a mile.
A patch that sits between the tube and the tyre to span a cut so the tube cannot bulge through. A gel wrapper or a piece of old casing works. It weighs nothing and it is the difference between riding out and walking, so carry one.
A broken chain is a mechanical death sentence in the backcountry. Learn the basics of field repair, including how to use a chain tool and master links.
What to do when a spoke goes 60 km from anywhere: stop the wheel rubbing, true it roughly by feel, and know when to stop riding it.
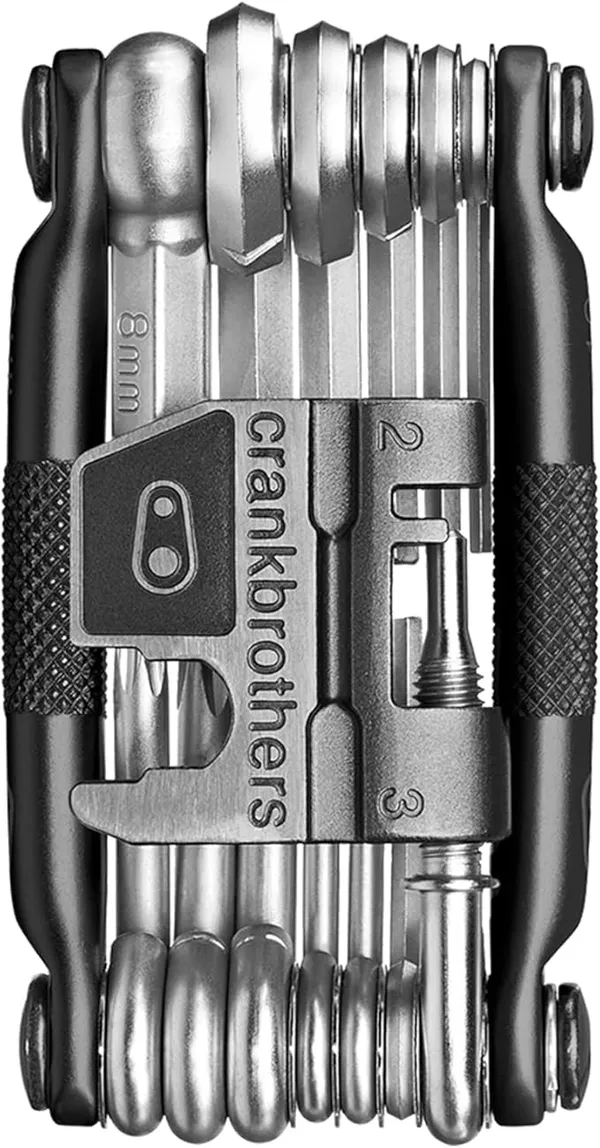
The multi-tool, pump and spares that turn a ride-ending mechanical into a twenty-minute roadside stop. Five picks we would carry on a remote gravel route.
Based in Colorado, Ryan is the guy who spends his Friday nights plotting questionable out-and-back routes. He focuses on practical, budget-conscious setups that work. He's learned the hard way that you don't need a $500 tent to sleep well in the woods.