Maintenance
The Broken Chain Reality: Field Repair Basics for Rocky Tech
A broken chain is a mechanical death sentence in the backcountry. Learn the basics of field repair, including how to use a chain tool and master links.
You will hear it before you feel it. A single sharp ping, then a wheel that suddenly feels soft and starts brushing the brake or the chainstay every rotation.
Stop and find the spoke. Do not keep riding to the next junction, because a broken spoke swinging loose will find your derailleur, and a bent hanger is a far worse problem than a missing spoke.
Wrap the broken spoke around one of its neighbours so it cannot move. If the nipple end is still seated in the rim, unscrew it and put it in a pocket. That is the emergency handled, and everything after this is about getting rolling again.
With one spoke gone, the rim pulls toward the opposite side. The job is not to true the wheel, it is to stop it rubbing.
Spin the wheel and watch where it touches. Then loosen the two or three spokes nearest the break on the opposite side of the rim, a quarter turn each, working outward from the gap. That releases the pull that is dragging the rim off centre.
Spin again. Repeat in quarter turns until the rim clears the frame and the pads. Two millimetres of wobble is fine. This takes about five minutes and it is entirely by eye and by ear.
If you have rim brakes, open the caliper as well. If you have discs, you have one less problem, which is one of the quiet arguments for them on a loaded bike.
The Broken Chain Reality: Field Repair Basics for Rocky Tech
A broken chain is a mechanical death sentence in the backcountry. Learn the basics of field repair, including how to use a chain tool and master links.
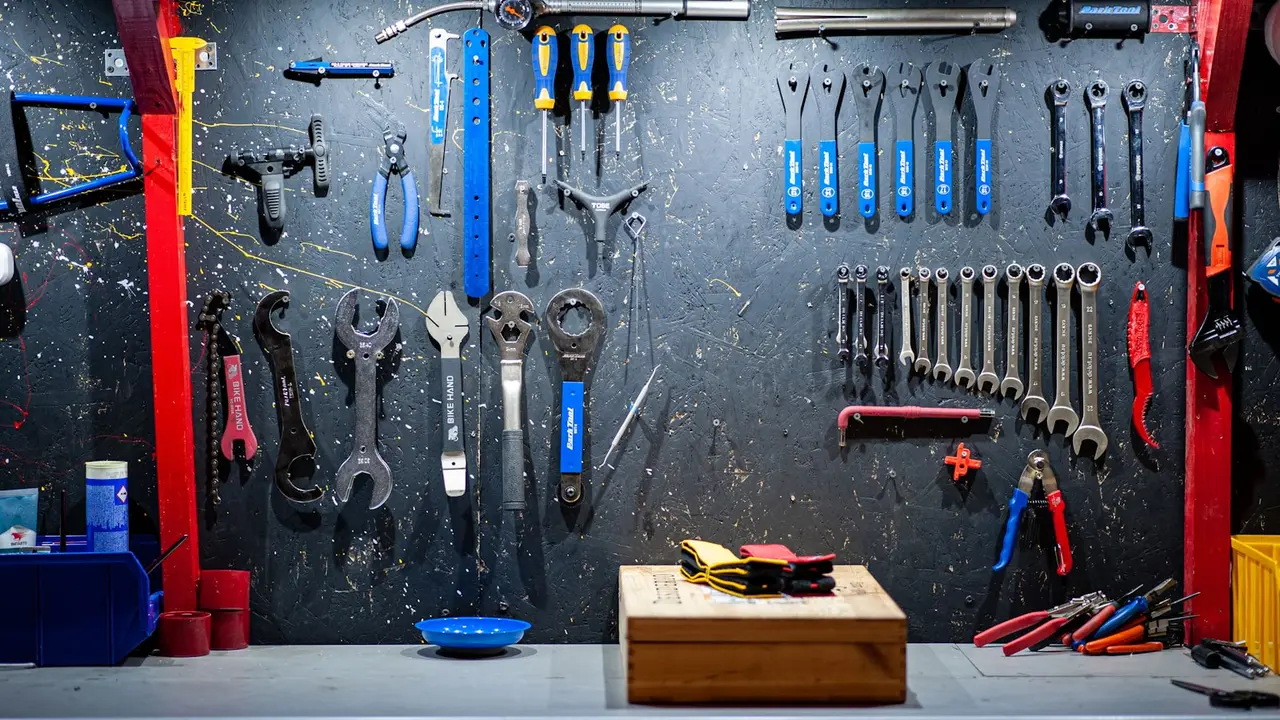
A spoke key weighs about 15 grams and costs a few dollars, and it is missing from most published bikepacking tool lists.
Without one, everything above is impossible and your options are walking or a very careful ride with a rubbing wheel. With one, a broken spoke is a fifteen minute inconvenience.
Buy the size that matches your nipples, not a universal four-way, and check it actually engages before you leave. Nipple sizes vary more than people expect and a key that nearly fits will round them off.
The reason a drive-side rear break is the bad one is that a conventional replacement spoke needs the cassette removed to get the head into the hub flange. Nobody carries a cassette lockring tool and a chain whip.
A kevlar or hooked emergency spoke gets around that entirely. It hooks into the flange without disassembly, tensions with the same spoke key, and holds well enough to finish a trip. Twenty grams, about ten dollars, and it turns the worst version of this problem into the same fifteen minute job as any other.
Carry two if your trips are remote. They are also the only spare that fits any wheel you own.
One spoke, ridden gently, is fine to a town.
Two spokes gone in the same area of the rim is a wheel that is losing its structure, and the failure mode from there is the rim folding rather than another spoke pinging. That is the point to stop, and it is worth knowing before you talk yourself into one more day.
The other signal is spokes breaking repeatedly on an otherwise fine wheel. That is not bad luck, it is a wheel at the end of its life or one that was never tensioned properly, and no roadside fix addresses it.
How Much Should a Bikepacking Setup Weigh?
Real weights for a weekend bikepacking setup, where the kilos actually hide, and the point at which chasing grams stops making you faster.
Usually yes, for a while, if you release the brake and get the wheel true enough not to rub. A rear drive-side spoke on a loaded bike is the worst case because that side carries the most tension. Ride gently, avoid standing on climbs, and treat it as getting to a town rather than continuing the trip.
Wrap it around a neighbouring spoke rather than leaving it flapping. A broken spoke swinging free will catch the derailleur or the frame and turn a rideable problem into a bent hanger. If the nipple end is still in the rim, unscrew and pocket it so it does not rattle inside.
Yes, and it is the one tool most people leave out. A 15 g spoke key is the difference between riding out and walking. Get the size that matches your nipples, check it actually fits before the trip, and tape it to something you will not lose.
A kevlar or steel emergency spoke with a hook end that fits without removing the cassette, which is the reason to carry one. A conventional replacement spoke needs the cassette off on drive-side breaks, and almost nobody carries a cassette tool. At 20 g it is worth the space on any trip more than one night from help.
Enough that the rim clears the brake pads and the frame with the wheel spinning. You are not building a wheel, you are stopping it rubbing. A few millimetres of wobble is fine and chasing perfection at the roadside usually makes it worse.
A broken chain is a mechanical death sentence in the backcountry. Learn the basics of field repair, including how to use a chain tool and master links.
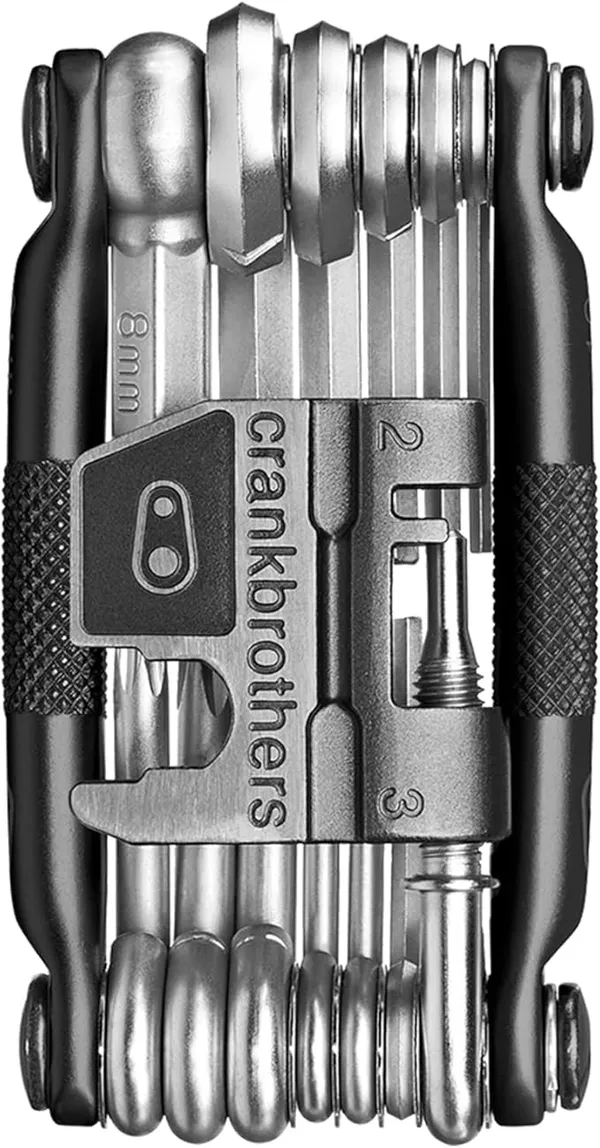
The multi-tool, pump and spares that turn a ride-ending mechanical into a twenty-minute roadside stop. Five picks we would carry on a remote gravel route.
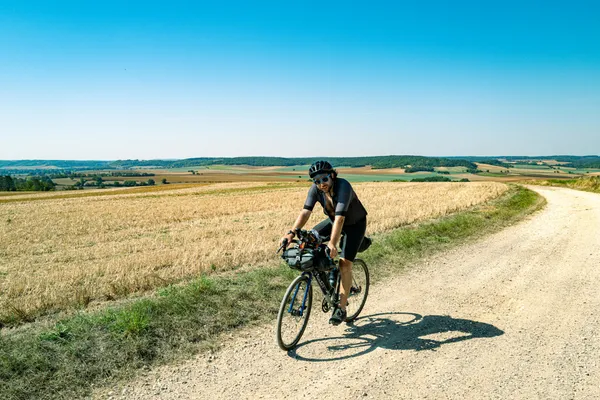
Sealant will not close a gash. How to plug a tubeless tyre at the roadside, when to give up and fit a tube, and what to carry for both.
Mark is accustomed to carrying his body weight in water across the Southwest. Meticulous about load distribution, if a piece of gear rattles or rubs, Mark will find a way to fix it with a Voile strap and some duct tape.