Bags
Seatpack vs Panniers vs Frame Bag: Choosing a Load Layout
Three ways to carry the same kit, compared on capacity, handling, cost of entry and off-road tolerance. A winner on every axis, and a different one each time.
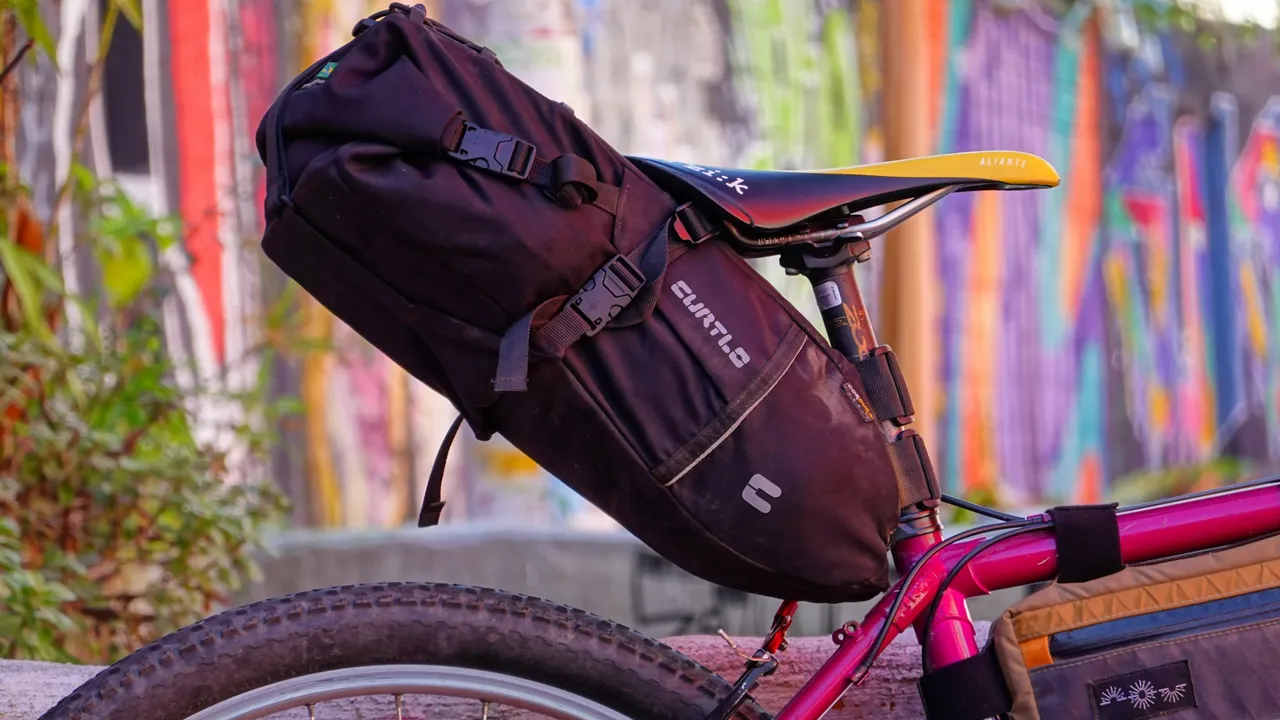
Every seat pack has a minimum tyre clearance and hardly anyone looks at it before buying. It is the specification most likely to make a bag unusable on your particular bike, and it is the one buried furthest down the listing.
Across the eight seat packs we have scored, the published minimum ranges from 5cm to 15cm — a threefold spread. On a large frame none of it matters. On a size S gravel bike running a 700x45 tyre, that spread is the difference between a bag that fits and a bag that grinds a hole in itself.
| Bag | Volume | Weight | Minimum clearance |
|---|---|---|---|
| Apidura Expedition | 14L | 350g | 5cm |
| Cartman Bike Packing | 10L | 410g | 8cm |
| Lixada Saddle Bag | 10L | 360g | 8cm |
| Inova Light | 11L | 480g | 10cm |
| Rockbros Bikepacking | 14L | 540g | 12cm |
| Zefal Z-Adventure | 17L | 620g | 12cm |
| M-Wave Rough Ride | 15L | 590g | 15cm |
| Ortlieb Seat-Pack L | 16L | 456g | 15cm |
Read that table looking for the pattern you expect — bigger bag, more clearance — and it is not there. The 14L Apidura needs 5cm. The 15L M-Wave needs three times as much for one extra litre. The 17L Zefal, the largest bag here, needs less than both.
The number is not describing how big the bag is. It is describing how far it sags when you load it.
A bag with a rigid internal structure — a plastic skeleton, a stiffened base, a harness that holds its own shape — hangs roughly where you mounted it whether it is full of a sleeping bag or full of tools. The manufacturer can quote a tight figure because the geometry is predictable.
A strap-only bag has no such guarantee. Loaded, the fabric deforms into a teardrop and the mass migrates downward and rearward. The maker has to quote a clearance that covers the worst case, because they have no idea how you are going to pack it.
That is why the Apidura, a bag with a reputation for demanding careful packing, quotes the smallest number here: it is a race bag designed to be packed hard and compressed, and packed that way it barely droops at all. It is also why the M-Wave, a soft 15L bag, asks for 15cm — not because it is enormous, but because loosely loaded it will find the tyre.
The practical version: a rigid bag's clearance figure is close to a promise. A soft bag's figure assumes you pack it well, and if you do not, you will need more than it says.
Measuring wrong is the most common way people get this decision wrong, and it always errs in the same optimistic direction.
Rough guidance from the numbers above:
How to Stop Seatpack Sway: The Right Way to Pack Your Tail Bag
A swaying bikepacking saddle bag destroys your cornering and wastes energy. Learn how to pack your tail bag properly to completely kill the pendulum effect.
If you measure and land under 8cm, the honest advice is to stop trying to solve it with a seat pack.
A rear rack with a dry bag strapped to it puts the load above the tyre rather than hanging into it, so clearance stops being the constraint. It is heavier and it looks less like the photographs, but on a small frame it carries more, sways less, and does not slowly abrade itself.
The other route is redistribution: a full frame bag plus a bar roll can hold a two-day kit without a seat pack at all. Weight in the main triangle handles better than weight behind the saddle anyway, which is the argument for that layout even on a bike with room to spare.
How to Pack a Frame Bag Without Wrecking the Handling
The frame bag is the only place weight is genuinely free. Here is what belongs in it, what does not, and the packing order that keeps the bike steady.
Measure under load, from the rails, with the dropper down if you have one. Then buy a bag whose quoted minimum is comfortably below what you measured — and if the bag is strap-only rather than structured, give yourself a couple of centimetres more than it asks for, because that number assumes a packing job you may not do at 9pm in the rain.
Sit on the bike so the saddle is at riding height under your weight, then measure vertically from the saddle rails down to the top of the rear tyre. Measuring with the bike unloaded overstates the gap, because both the tyre and a suspension seatpost compress once you are on it.
Because the number describes droop, not volume. A bag with a rigid internal structure holds its shape when loaded and hangs where you mounted it. A strap-only bag of the same capacity sags into a teardrop, and the manufacturer has to quote a larger gap to cover it.
The bag rests on the tyre under load. On tarmac that is a hum and a wear patch; on gravel the tyre acts like a belt sander and can wear through the base of the bag in a single wet ride. It also robs braking traction by lifting weight off the tyre unpredictably.
A little. Raising the saddle is the obvious one and is usually not available. Fitting a narrower tyre buys a few millimetres. A rear rack with a small dry bag sidesteps the problem entirely, and on a small frame that is usually the honest answer rather than fighting for another centimetre.
Substantially, and in the wrong direction. A dropper at full extension gives you the clearance you measured; dropped, it removes 100-150mm of it instantly. Any bag on a dropper post has to clear the tyre in the dropped position or you will find out on the first descent.
Three ways to carry the same kit, compared on capacity, handling, cost of entry and off-road tolerance. A winner on every axis, and a different one each time.
Three large seatpacks compared on sway, waterproofing, camp packing, tyre clearance, weight and price per litre. A winner named on every one.
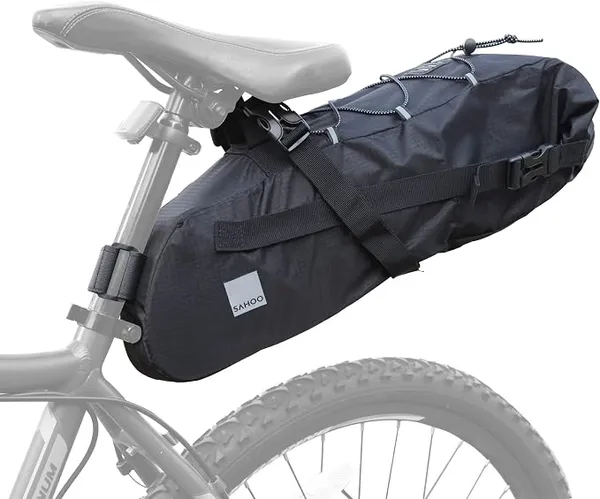
Twelve large bikepacking seatpacks compared on the thing that actually fails: the harness. Which 10L+ saddle bags resist tail sway, and which ones we would not put a loaded bag on.
Mark is accustomed to carrying his body weight in water across the Southwest. Meticulous about load distribution, if a piece of gear rattles or rubs, Mark will find a way to fix it with a Voile strap and some duct tape.