Bags
Seatpack vs Panniers vs Frame Bag: Choosing a Load Layout
Three ways to carry the same kit, compared on capacity, handling, cost of entry and off-road tolerance. A winner on every axis, and a different one each time.
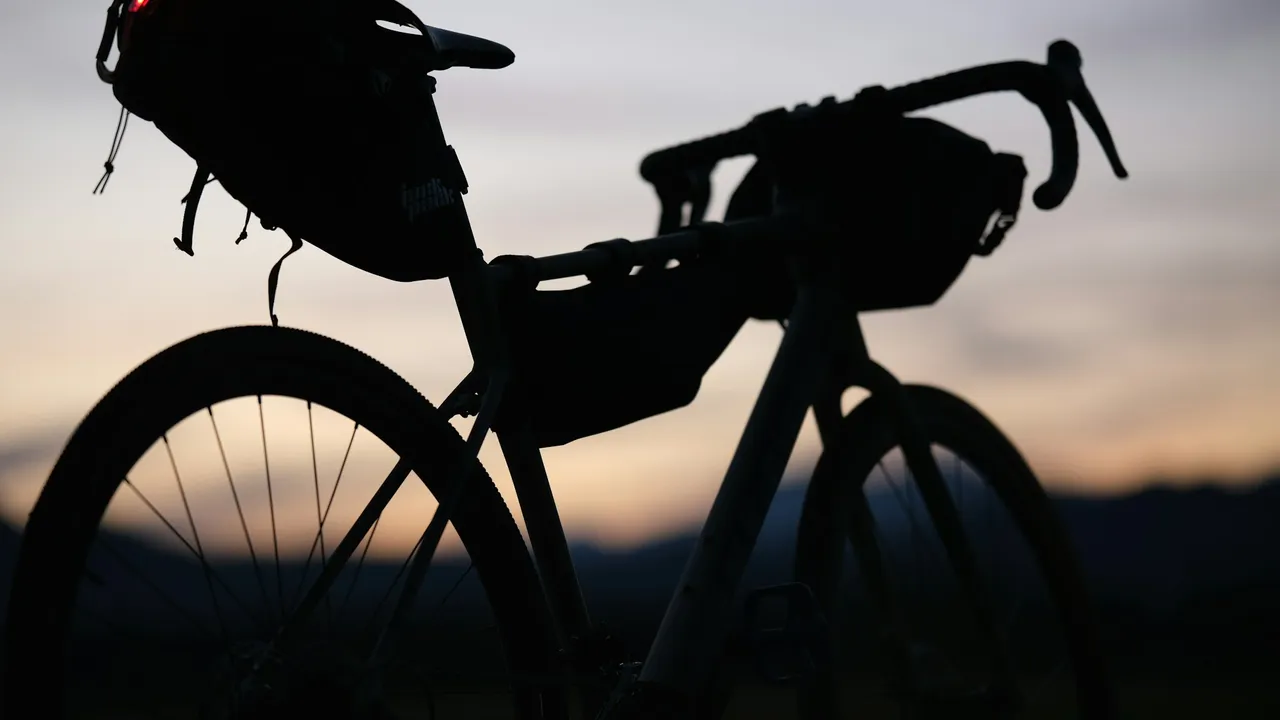
There is absolutely nothing worse than grinding up an 18 percent gravel climb out of the saddle only to feel your entire bike aggressively tugged sideways. Your massive saddle bag swinging like a metronome destroys your handling and wastes climbing wattage. Most of the time the harness is not the culprit — the load order is.
Seatpack sway is arguably the number one complaint among new bikepackers. While some cheap bags are legitimately structurally flawed, it is entirely a packing issue in ninety percent of cases. When you strap a massive weight cantilevered over your rear axle, physics demands absolute perfection.
If you learn how to load a bag logically and correctly tension the harness system, you can deaden the pendulum effect entirely. Here is the strict packing hierarchy required to permanently stabilize a large tail bag.
You absolutely must mitigate the leverage the bag has over your center of gravity. Everything dense and heavy practically needs to be bolted to the seatpost itself.
If you put a heavy camp stove or a dense bag of trail mix at the far rear end of the bag, you create a massive and unforgiving lever arm. Every minute movement of the bike will be amplified tenfold when you corner. Snapped harness straps reported on budget bags almost always trace back to the same thing: heavy steel tools sitting at the very back of the sway arc.
The Strict Staging Order:
12 Best Bikepacking Saddle Bags (Large 10L+ Seatpacks) for 2026
Twelve large bikepacking seatpacks compared on the thing that actually fails: the harness. Which 10L+ saddle bags resist tail sway, and which ones we would not put a loaded bag on.
A floppy bag will sway inevitably. If there is air trapped inside the dry bag component, the contents will violently shift when you hit washboard gravel.
Once your gear is completely inside, you must compress the absolute hell out of it before you seal the roll-top. It requires actual body weight to do this correctly.
Roll the top down twice to create a temporary semi-seal. Physically lean your entire upper body onto the bag to force the trapped air out through the one-way purge valve. If you lack a purge valve, leave the roll top slightly loose, crush all the air out with your forearms, and then rapidly finish the structural seal.
A seatpack packed correctly should feel almost like a solid piece of lumber rather than a squishy pillow. If you can physically squeeze it and hear air displacing, you need to unpack it and try again.
Once the bag is packed rock-solid, the connection to the bike must be totally unyielding. The best packing job in the world will never save a loose harness system.
The velcro straps around the seatpost must be excessively tight. However, if you are running a carbon seatpost, be acutely aware that concentrated velcro loads can cause catastrophic delamination over rough terrain. You must actively run a protective rubber sleeve or wrap the post in thick protective tape first.
The saddle rail straps are what actually handle the brutal vertical load. Route them cleanly over the alloy or carbon rails while ensuring they are not twisted in the buckles. Pull them tight while physically lifting the heavy tail of the bag upward with your other hand. This physically takes the dead weight off the straps while you tension them, allowing you to easily get an extra inch of purchase.
The Ultimate Bikepacking Gear List for Beginners (2026 Guide)
Everything you actually need for a first multi-day gravel trip in 2026, from bags to sleep systems, with the kit we would skip and why.
If you have applied all of the above and your bag is still whipping wildly when you stand up to sprint, your bag internal skeleton is failing. Flexible nylon harnesses simply stretch when wet and fundamentally cannot handle heavy gear over chunk.
You cannot magically fix a structurally deficient harness with better packing technique. If you keep running into this ceiling, see how the harnesses compare in our seatpack rankings. You need to find modern models utilizing rigid internal plates that mechanically prohibit tail wag.
Using a dedicated stabilization bracket like the alloy models from Woho can also physically lock the bag in place. However, these brackets add significant complexity and dead weight to your ultralight setup.
A seat pack does not sway a little more as you add weight. It sways disproportionately more, because the bag is a pendulum and the load sits at the far end of the lever.
Move a kilo from the nose of the bag to the tail and you have not added a kilo of sway, you have roughly doubled the moment arm acting on the seatpost. That is why two riders with identical bags and identical total weight can have completely different handling.
This is also why the fix is almost always repacking rather than re-strapping. You can only pull straps so tight before you are just crushing the rails.
Pack in three zones, front to back.
Against the seatpost goes the densest thing you carry: tool roll, spare tube, a full water bladder if you use one. This is the only part of the bag whose weight the frame is really supporting.
The middle takes clothing and anything semi-compressible. Its job is to fill the volume so nothing behind it can migrate forward on a descent.
The tail takes the lightest, bulkiest item you have. A sleeping bag, a down jacket, a tent inner. If you are putting anything heavy back here, you have run out of space somewhere else and the answer is a different bag, not a tighter strap.
Order matters more than force.
Fill and roll the closure first, then compress the bag against itself before you touch the rail straps. A bag that is loose internally will keep settling and going slack no matter how hard you tension the mounts.
Tighten the rail straps next, evenly, alternating between them. Then the seatpost strap. Then re-check the rail straps, because seating the post strap almost always introduces slack at the rails.
Ride a kilometre and stop. Everything beds in during the first few minutes, and this second tension is the one that holds for the day.
Some sway is the seatpost, not the pack.
A long exposed carbon post flexes by design, and a loaded bag amplifies that into a visible wag. If the bag is solid against the rails but the whole assembly moves as one unit, the post is your flex, and no amount of packing fixes it.
The options there are a shorter exposed post, a stiffer alloy post for touring, or moving to a rack-supported system that takes the load off the post entirely. Riders with a lot of post showing and a heavy sleep system are the usual candidates for the last one.
Dropper posts add a further limit: most manufacturers cap seat pack weight or forbid them outright, because side loading damages the internals. Check before you load one.
Almost always weight distribution rather than strap tension. The bag is a pendulum and weight at the tail acts on a long lever. Move the densest items forward against the seatpost and the sway usually disappears without touching the straps.
Most large seat packs are rated between 4 and 8kg, but the practical limit is lower on a flexy seatpost. If the whole assembly wags as one unit rather than the bag moving on the rails, you have hit the post's limit rather than the bag's.
Often not. Many dropper manufacturers cap the load or forbid seat packs entirely, because side loading damages the internals. Check the manufacturer's guidance first, and consider a small rack if the answer is no.
The lightest, bulkiest thing you carry: a sleeping bag, a down jacket, a tent inner. If anything heavy is ending up at the tail, you have run out of space elsewhere and need a different setup rather than tighter straps.
Yes, once. Everything beds in during the first kilometre or two. Stop, retension the rail straps and the post strap, and that second tension is the one that lasts the day. New webbing needs this more than worn webbing.
Three ways to carry the same kit, compared on capacity, handling, cost of entry and off-road tolerance. A winner on every axis, and a different one each time.
Three large seatpacks compared on sway, waterproofing, camp packing, tyre clearance, weight and price per litre. A winner named on every one.
Litres by trip length, why a half-full big bag sways more than a packed small one, and the tyre clearance number that decides it for you.
Based in Colorado, Ryan is the guy who spends his Friday nights plotting questionable out-and-back routes. He focuses on practical, budget-conscious setups that work. He's learned the hard way that you don't need a $500 tent to sleep well in the woods.