Bags
The Best Bikepacking Frame Bags
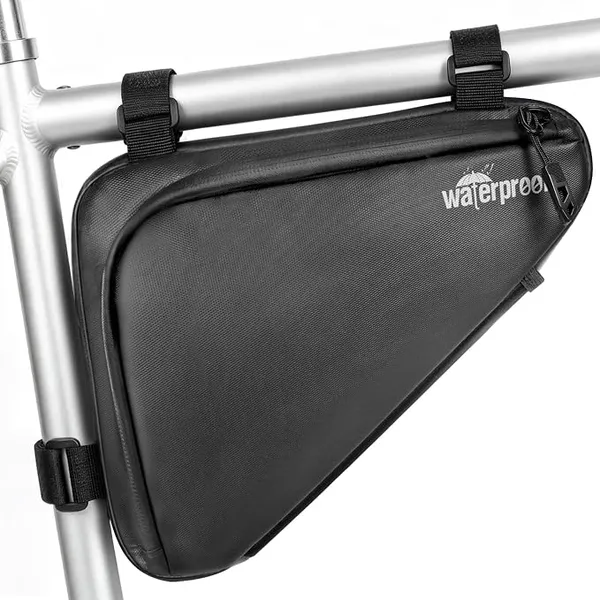
Seven frame bags from $18 to $85, split by the decision that actually matters: whether you keep your bottle cages or give the whole triangle over to luggage.
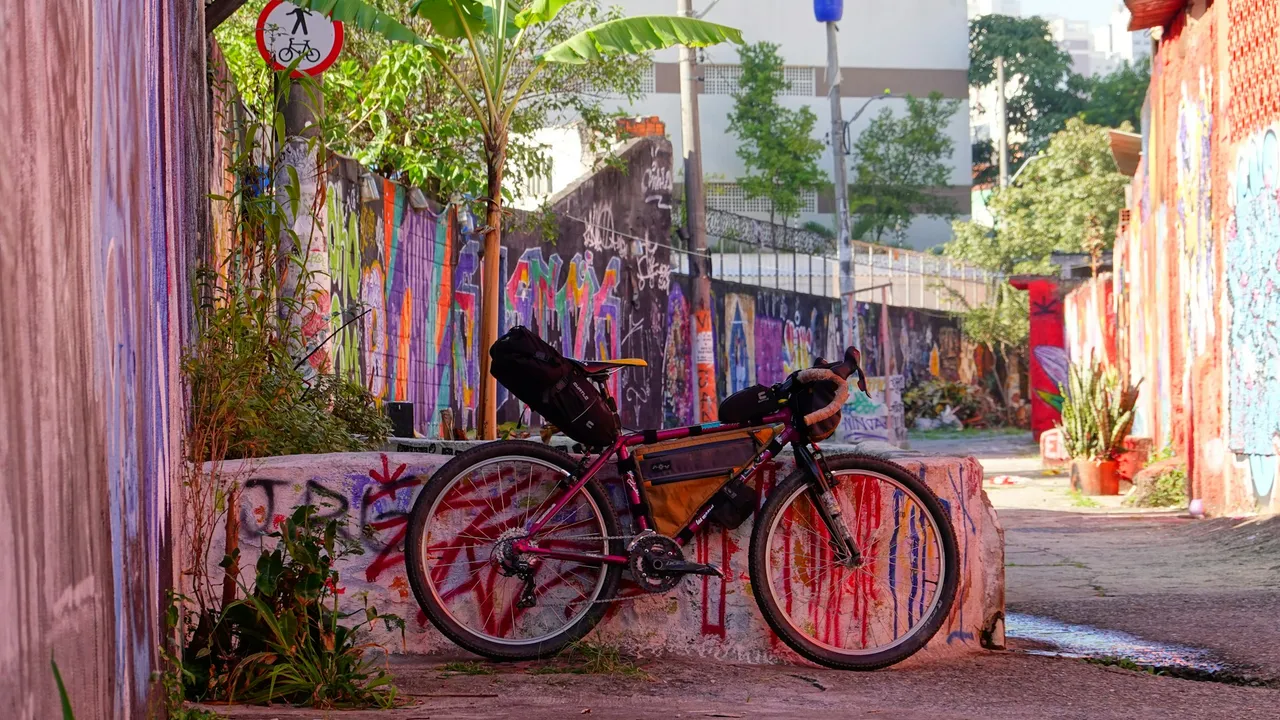
There is a specific, sickening feeling you get when you pull your frame bag off after a dusty weekend only to realize your expensive matte paint job has been replaced by raw aluminum or exposed carbon. It does not take a season. A slightly loose strap plus a fine layer of trail grit acts like 80-grit sandpaper, and a single dusty descent is enough to chew through a clear coat.
Most riders think the bag is the problem. It isn't. The movement is the problem. If a bag can shimmy even a millimeter, it is actively destroying the finish of your bike. If you are riding in the mud, that destruction happens at double speed.
You don't need a custom $200 bag to fix this, but you do need a pro-active protection strategy. Here is how you kill the "sandpaper effect" permanently.
You cannot rely on the soft backing of the bag straps to protect your paint. Even "soft-touch" velcro will trap grit and grind it into the tube. You need a physical sacrificial barrier between the frame and the strap.
Standard "helicopter tape" (thick Polyurethane tape) is the industry standard for a reason. It is transparent, incredibly tough, and takes the abuse so your frame doesn't have to. Wrap every high-friction area — the head tube, the top tube where the harness sits, and the seat tube — before the bag ever touches the bike.
If you are on a budget or don't care about aesthetics, heavy-duty electrical tape or even gorilla tape works in a pinch, though they leave a nasty residue. The goal is simple: let the tape get destroyed, not the bike. If you see the tape starting to cloud or peel, replace it before the next ride.
Best Budget Bikepacking Gear 2026: 10 Affordable Essentials
A full bikepacking setup without the flagship prices. Ten budget picks under $120 each, with the three that are false economy named.
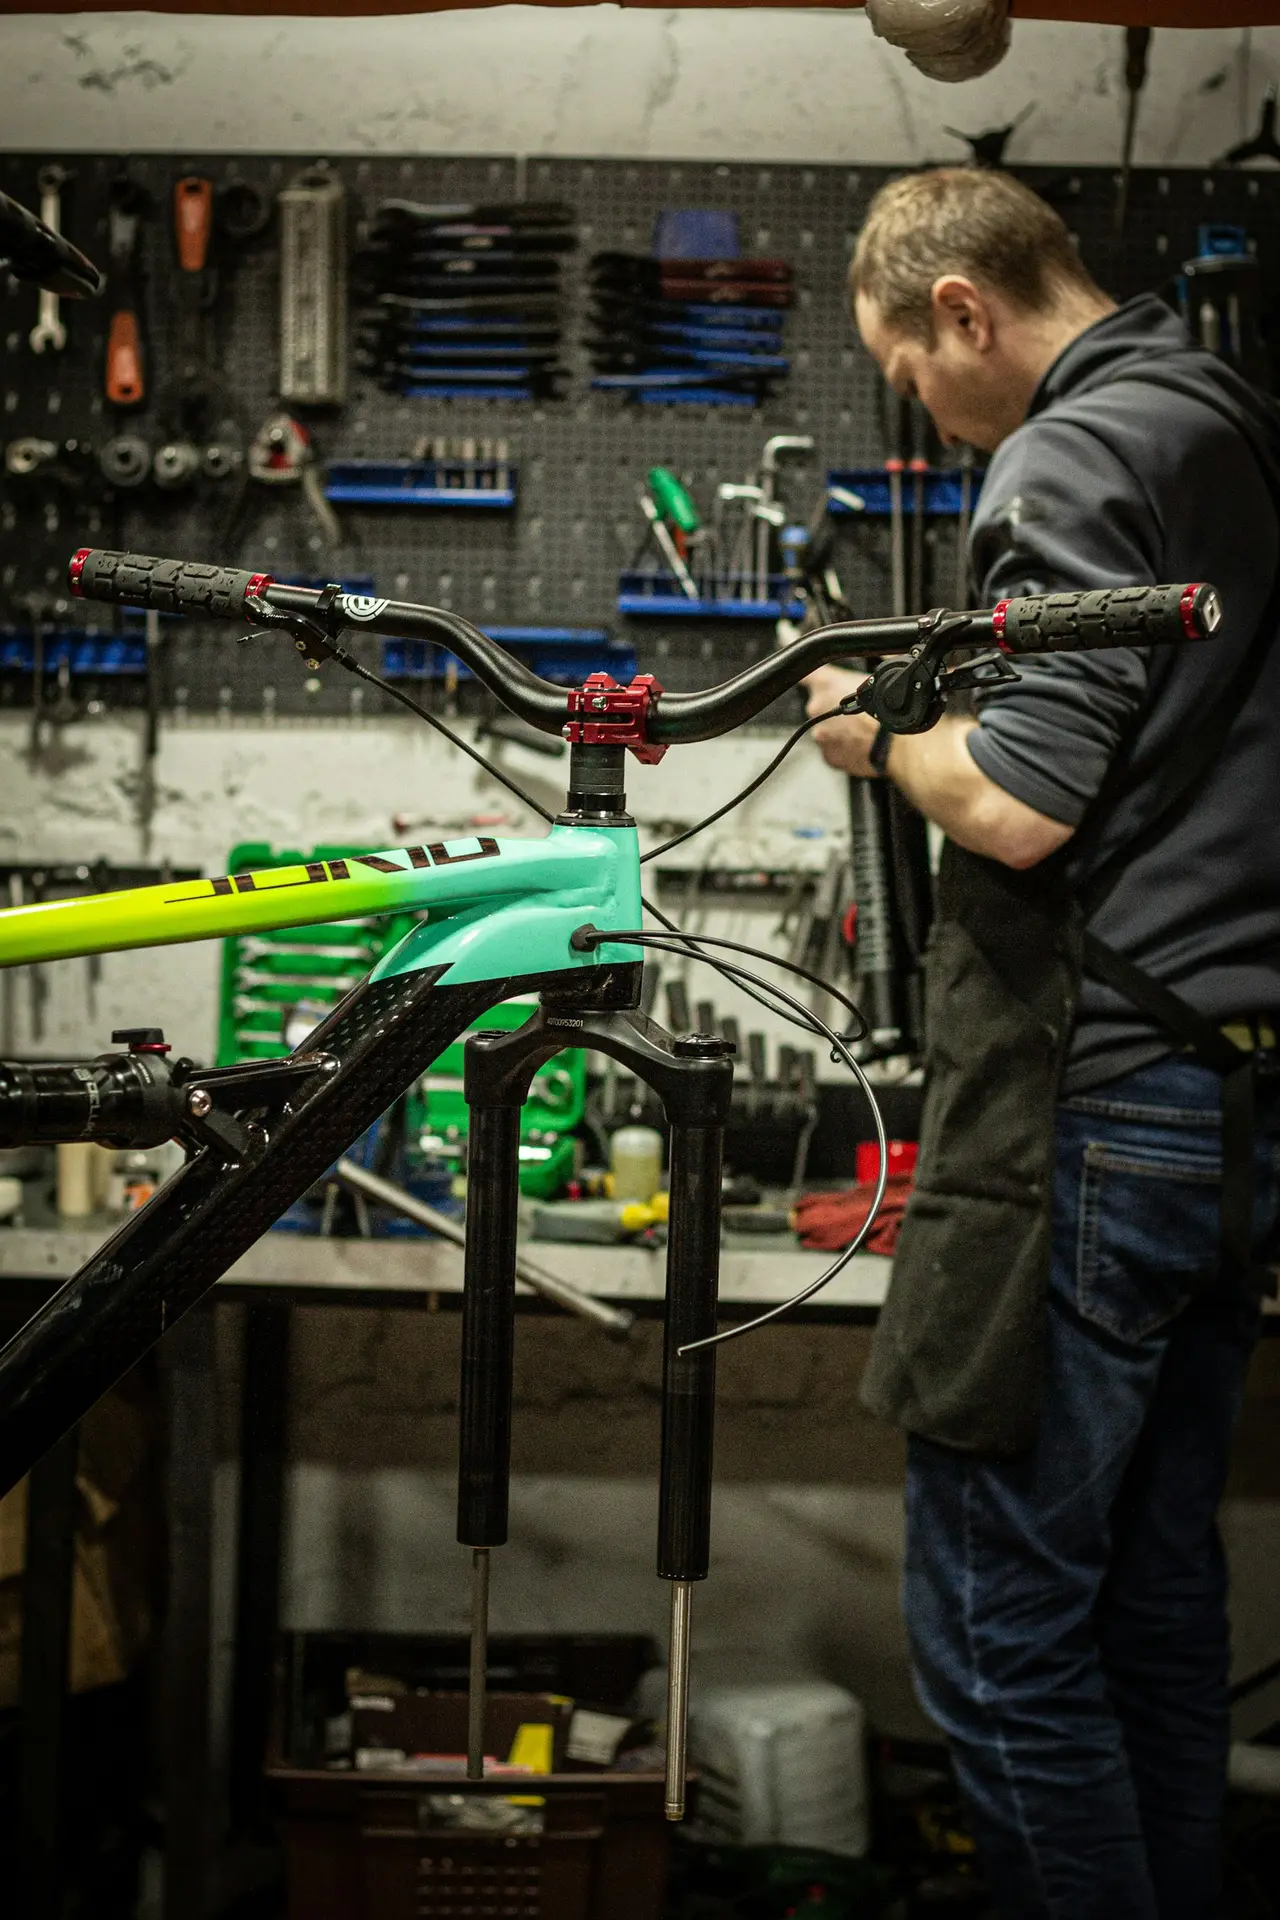
A frame bag that sways or bulges is a bag that rubs. Most people pack their frame bags too "round," which causes the sides to push outward into your knees and the straps to pull unevenly on the tubing.
12 Best Bikepacking Saddle Bags (Large 10L+ Seatpacks) for 2026
Twelve large bikepacking seatpacks compared on the thing that actually fails: the harness. Which 10L+ saddle bags resist tail sway, and which ones we would not put a loaded bag on.
The most common failure reported on strap-mounted bags is not the strap tearing — it is velcro gummed up with fine silt. Once it loses its bite the bag sags, and once it sags the rub starts.
If your bag uses cheap velcro, replace the structural straps with Voile straps or heavy-duty TPU gear ties. They provide a mechanical lock that simply cannot slip, regardless of how much mud you throw at them. A $10 TPU strap is much cheaper than a $300 carbon repair job.
If you’ve already got rub marks, don't panic. Clean the area, apply a protective patch, and adjust your mounting. The trail scars are part of the story, but let's try not to make them deeper than they need to be.
Rub almost never begins where you expect it. The visible scar on the top tube is usually the second casualty, not the first.
Check these four places before you blame the bag. The underside of the down tube, where spray drives grit upward into the strap path. The head tube junction, where a harness rotates a few degrees every time you stand on the pedals. The seat tube behind the bottle cage, where a bag corner sits against a surface you never look at. And the chainstay, if a seat pack strap wanders.
Run a finger along each after a wet ride. If it comes back grey, that is your paint in suspension, and the tape needs to go on before the next trip rather than after.
Tape and straps are only as good as the surface underneath them. A frame that goes out with a film of dried mud under the strap path is carrying its own abrasive.
Wipe the contact areas with isopropyl alcohol before every multi-day trip, not just before applying tape. It takes two minutes and removes the silica that does the actual cutting. Water alone smears it around.
If you have been riding in sand or volcanic grit, pull the bag off entirely at the end of each day and wipe both the frame and the inside face of the strap. Grit embeds in webbing and keeps working long after the ride that picked it up.
Matte finishes are the most vulnerable surface on a bike. The flat clear coat has no depth to sacrifice, so the first thing that polishes it leaves a permanent shiny patch that no amount of cleaning removes.
On matte frames, use tape everywhere the bag touches, and accept that the tape edges will be visible. A visible tape line is better than a permanent gloss scar.
Raw or clear-coated carbon is a different risk. The danger there is not cosmetic. Repeated abrasion at a strap point can thin the resin layer over the top ply, and once the weave is exposed the frame is compromised in a way paint never is. Inspect carbon strap points with a fingernail every few months. Any roughness or fibre you can feel means stop and get it looked at.
If the paint is already through, the priority changes from cosmetic to structural.
On aluminium and steel, clean the area, dry it fully and cover it. Bare steel will start rusting within days in a wet climate, and bare aluminium oxidises into a chalky surface that keeps the next strap from sitting flat. A patch of helicopter tape over a cleaned scar is a permanent enough fix.
On carbon, do not simply cover it. Get the area inspected before you load the bag back onto that spot, then protect it once you know the damage is limited to finish.
Either way, change the mounting before you reload. Covering a scar without fixing the movement that caused it just means you will find the next one under the tape.
No. Rub comes from movement, not from contact. A bag that is properly tensioned and does not shift will sit against the frame for years without marking it. A bag that can move even a millimetre will cut through clear coat in a weekend if there is grit in the gap.
Polyurethane helicopter tape is the standard: thick, clear and tough enough to take the abrasion instead of the paint. Electrical or gorilla tape works as a stopgap but leaves residue and traps moisture underneath, so it is a trip fix rather than a season fix.
Tight enough that you can get a finger under them with real effort, and no tighter. The top tube straps are the primary anchors and carry the load. The down tube and seat tube straps exist to stop side-to-side sway, and riders routinely leave those too loose.
It can, which is why carbon deserves more caution than paint. Repeated abrasion at one strap point can thin the resin over the top ply. Cosmetic marks are fine, but any roughness or visible fibre means stop loading that area and have it inspected.
For structural mounting points, generally yes. Velcro loses its bite once silt works into the hooks, and a bag that sags starts rubbing. A rubber or TPU strap holds mechanically and does not care how muddy it gets. Many riders keep velcro for light accessories and switch the load-bearing points.
Seven frame bags from $18 to $85, split by the decision that actually matters: whether you keep your bottle cages or give the whole triangle over to luggage.
Three ways to carry the same kit, compared on capacity, handling, cost of entry and off-road tolerance. A winner on every axis, and a different one each time.
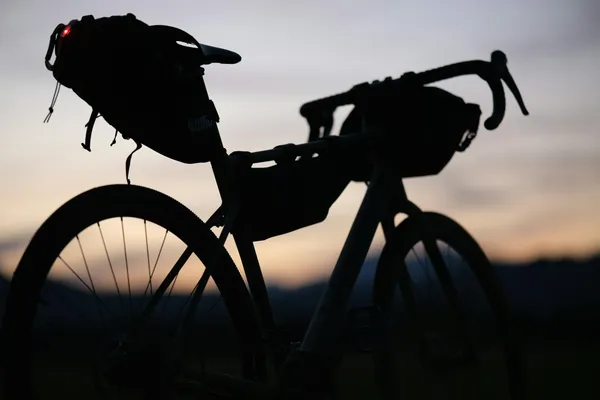
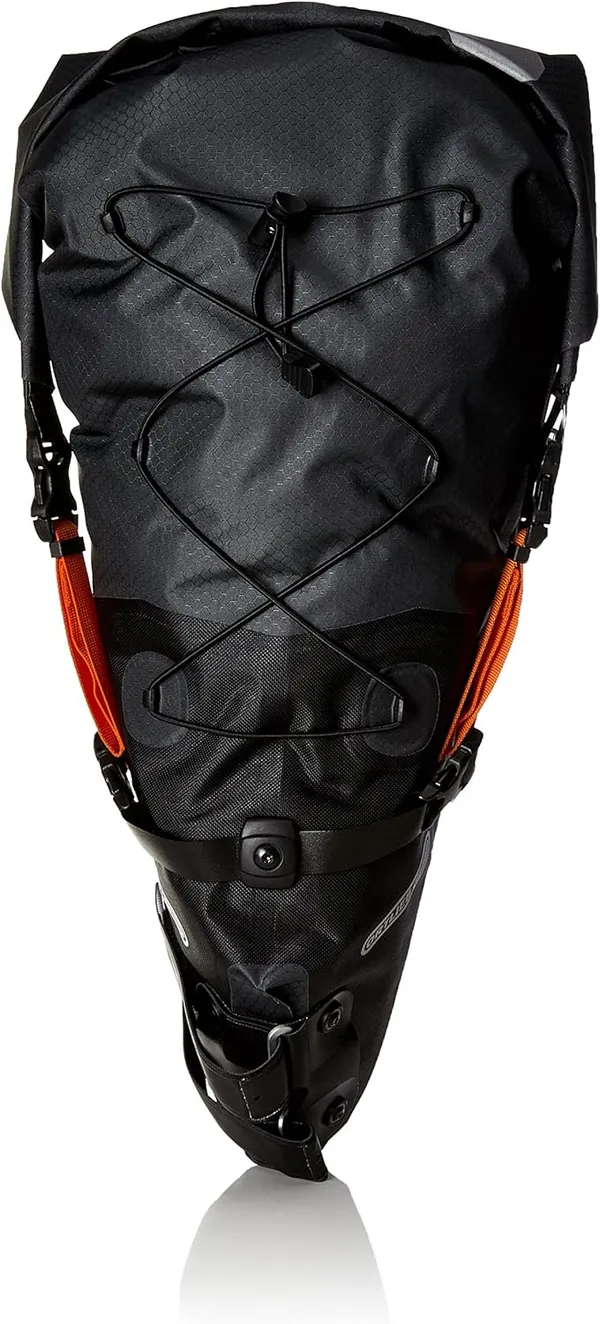
A swaying bikepacking saddle bag destroys your cornering and wastes energy. Learn how to pack your tail bag properly to completely kill the pendulum effect.

Based in Colorado, Ryan is the guy who spends his Friday nights plotting questionable out-and-back routes. He focuses on practical, budget-conscious setups that work. He's learned the hard way that you don't need a $500 tent to sleep well in the woods.