Maintenance
The Rattling Multi-tool Fix: How to Silence Your Cockpit
A rattling bike is a failing bike. Learn how to secure your multi-tools and spares so you can actually hear your tires on the trail.
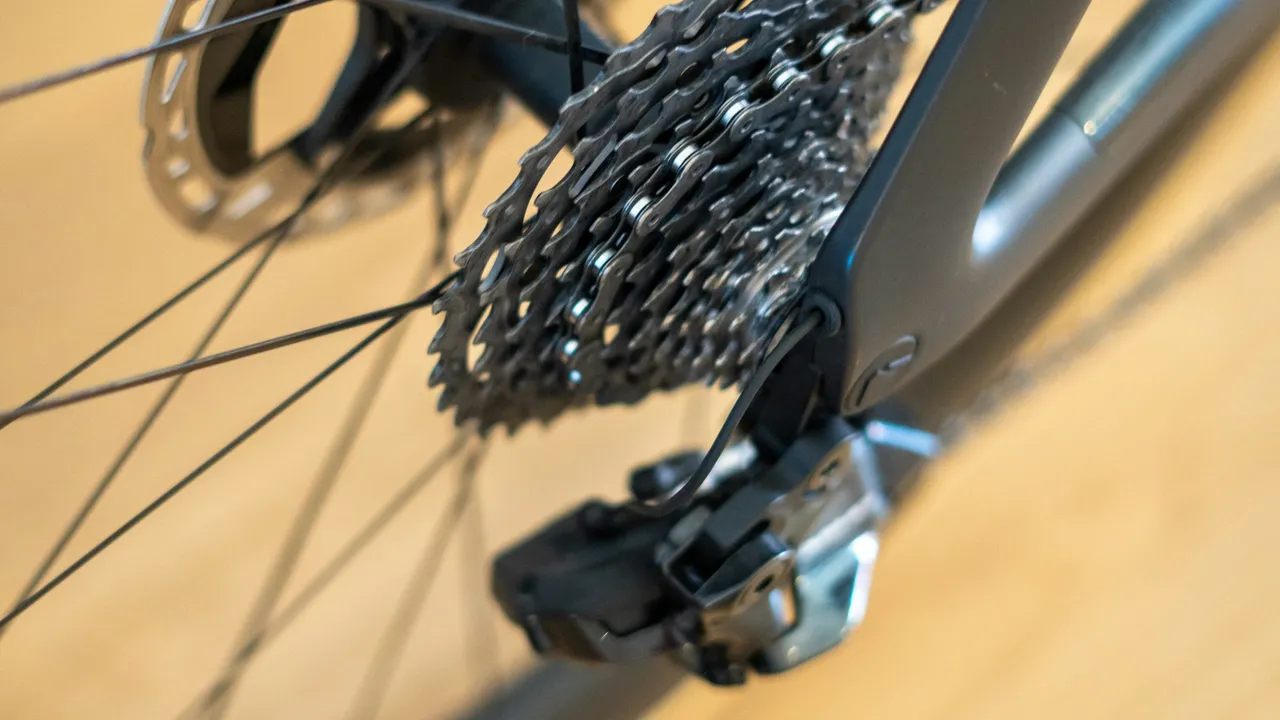
A new frame can sound like a tin can full of rocks on its first rocky descent. The chain strikes the chainstay over every embedded rock and root, and by the bottom of the hill the factory finish is chipped through to the material underneath. On a carbon frame that is cosmetic damage that keeps going.
Chain slap is annoying and highly destructive to your bicycle frame. Riding fifty miles of severe washboard gravel will turn an unprotected chainstay into ground meat. You absolutely need a robust physical barrier between the metal chain and your frame.
Ignoring the problem will lead to structural damage over time. A bouncing chain will literally chew through aluminum and carbon fiber if subjected to enough repeated impacts.
The most common solution is a neoprene sleeve like the Lizard Skins Chainstay Protector that wraps around the tube. These are cheap and effective but look terrible once they get soaked in chain oil and peanut butter mud. They also trap moisture against the frame, which actively accelerates rust on steel bikes.
The more permanent approach is what professional mechanics tend to use. Mastic tape is the better option for a reason: It is a thick rubberized tape that absorbs impacts silently and sticks tenaciously to the frame even in freezing rain.
12 Best Bikepacking Saddle Bags (Large 10L+ Seatpacks) for 2026
Twelve large bikepacking seatpacks compared on the thing that actually fails: the harness. Which 10L+ saddle bags resist tail sway, and which ones we would not put a loaded bag on.
You can cut mastic tape to the exact shape of your chainstay for a perfectly clean and integrated look. It provides far more damping than neoprene and will never absorb water or wet lube.
Clean the chainstay thoroughly with rubbing alcohol before applying any protective tape. Even a microscopic layer of chain lube or dust will prevent the adhesive from bonding permanently. You must let the alcohol flash off completely before proceeding.
Apply the tape carefully, starting near the chainrings and working your way back toward the cassette. Press it down firmly, especially around the edges, to ensure a solid and permanent bond. You can use a hair dryer to slightly warm the tape, making it far more pliable around curved tubes.
Fixing Frame Bag Rub: How to Save Your Paint (And Your Straps)
A loose frame bag sands through paint in 20 miles. How to stop frame rub and harness movement before the damage reaches carbon or bare metal.
Pay close attention to the underside of the chainstay as well. When bombing down technical baby-head rock sections, the chain often wraps underneath and strikes the bottom of the tube.
A protective barrier is only half the battle. You also need to aggressively minimize the slack in the chain itself. Check your rear derailleur clutch immediately if your bike sounds like a machine gun on descents.
A worn or improperly adjusted clutch will allow excessive slack in the chain over rough terrain. Most Shimano gravel clutches are adjustable with a small hex key to increase the retention force. You must pop off the plastic clutch cover to access the tension band, and doing this in the dirt is a recipe for losing tiny bolts.
Finally, ensure your chain is cut to the proper length. A chain that is even two links too long will bounce uncontrollably regardless of your clutch tension. Keeping your drivetrain clean, properly tensioned, and your clutch engaged is the primary line of defense against chain slap.
Chain slap and chain rub sound similar from the saddle and need different fixes. Work out which one you have before you buy anything.
Slap is intermittent and impact-driven. You hear it on square hits and washboard, and it stops when the surface smooths out. Rub is continuous, quieter, and tracks with cadence rather than terrain.
If it is rub, the problem is chain line or a bent hanger, and no amount of protection will silence it. Check the hanger with a gauge or by eye from behind before you go further.
Most persistent slap on a gravel bike is a chain that was cut long. Shops often add a link for the largest sprocket on a wide-range cassette, which leaves slack everywhere else.
Check it in the small-small combination. Shift to the small chainring and the smallest sprocket, then look at the rear derailleur cage. If the cage has rotated forward past vertical, or the chain droops enough to touch itself, the chain is too long.
Removing two links is a ten-minute job with a chain tool and a fresh quick link, and it does more for noise than any protective wrap. Verify big-big afterwards: the cage should still have travel left and the chain should not go tight.
A clutch derailleur only works while the clutch mechanism is clean and correctly tensioned, and both degrade quietly.
The friction band inside a Shimano clutch dries out over a season and loses grip. It can be re-greased, and most riders never do it. The symptom is a derailleur that still has a working clutch lever but no longer resists cage movement when you pull it forward by hand.
Test yours by lifting the rear wheel, engaging the clutch and pulling the cage forward. It should resist firmly and return slowly. If it swings freely, the clutch needs service rather than the frame needing more tape.
SRAM cages use a roller clutch that generally needs less attention but will still slacken. If you can rotate the cage easily with the clutch on, book it in.
Neoprene sleeves are the common answer and the least durable. They hold water against the chainstay, work loose over rough ground and hide the tube from inspection.
A layer of thick rubberised tape, cut to shape, damps the impact and stays put. Clean the stay with alcohol first and warm the tape slightly so it conforms around the curve of the tube. Wrap the underside as well as the top: on technical descents the chain wraps and strikes from below.
Whatever you use, lift it once a season to check what is happening underneath. Protection that traps grit against the frame is doing the opposite of its job.
Slack in the chain, allowed to move by a clutch that is not holding. The chain lifts on an impact and lands on the chainstay. Terrain triggers it, but the underlying cause is nearly always chain length or clutch tension rather than the surface.
It reduces it substantially while the clutch is working. Clutch mechanisms dry out over a season and stop resisting cage movement, at which point the noise returns. Test it by pulling the cage forward by hand with the clutch engaged: it should resist firmly.
Check in the small chainring and smallest sprocket. If the derailleur cage has rotated forward past vertical or the chain is close to touching itself, it is too long. Removing two links usually fixes it, but verify the big-big combination afterwards.
Tape, for anything longer than a day ride. Neoprene traps water and chain oil against the frame, works loose on rough ground and hides the tube from inspection. Thick rubberised tape damps impact and stays where you put it.
Yes. Repeated impacts at the same point can crack the resin layer on a carbon chainstay, and the damage is not always visible under a sleeve. This is the main reason to fix the cause rather than only muffle the noise.
A rattling bike is a failing bike. Learn how to secure your multi-tools and spares so you can actually hear your tires on the trail.
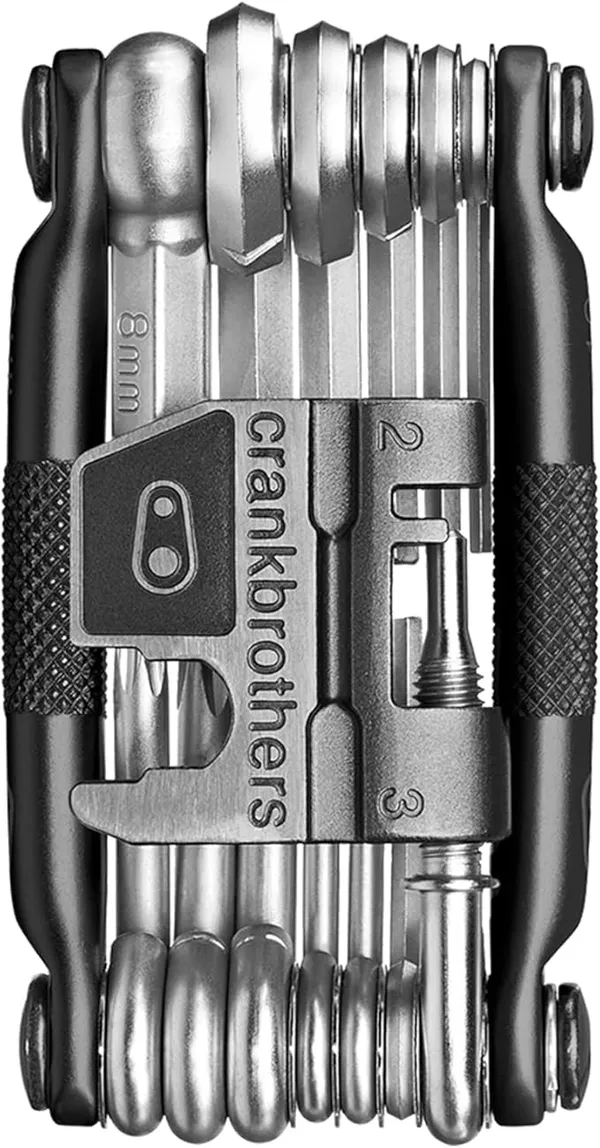
The multi-tool, pump and spares that turn a ride-ending mechanical into a twenty-minute roadside stop. Five picks we would carry on a remote gravel route.
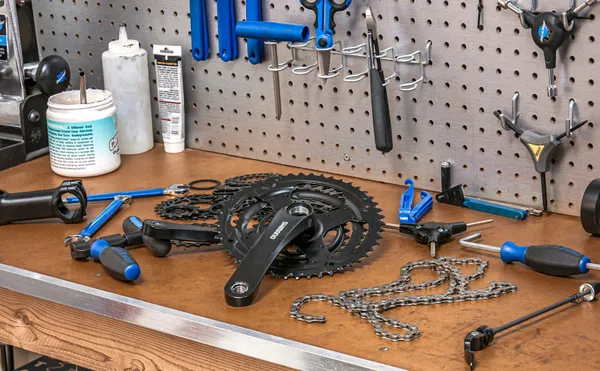
A broken chain is a mechanical death sentence in the backcountry. Learn the basics of field repair, including how to use a chain tool and master links.

Mark is accustomed to carrying his body weight in water across the Southwest. Meticulous about load distribution, if a piece of gear rattles or rubs, Mark will find a way to fix it with a Voile strap and some duct tape.