Hydration
The Best Bikepacking Water Bottles, Cages and Bladders
Eight ways to carry water on a loaded bike, from a $8 bladder to a titanium cage. Side-entry cages, insulated bottles, and what a frame bag does to your clearance.
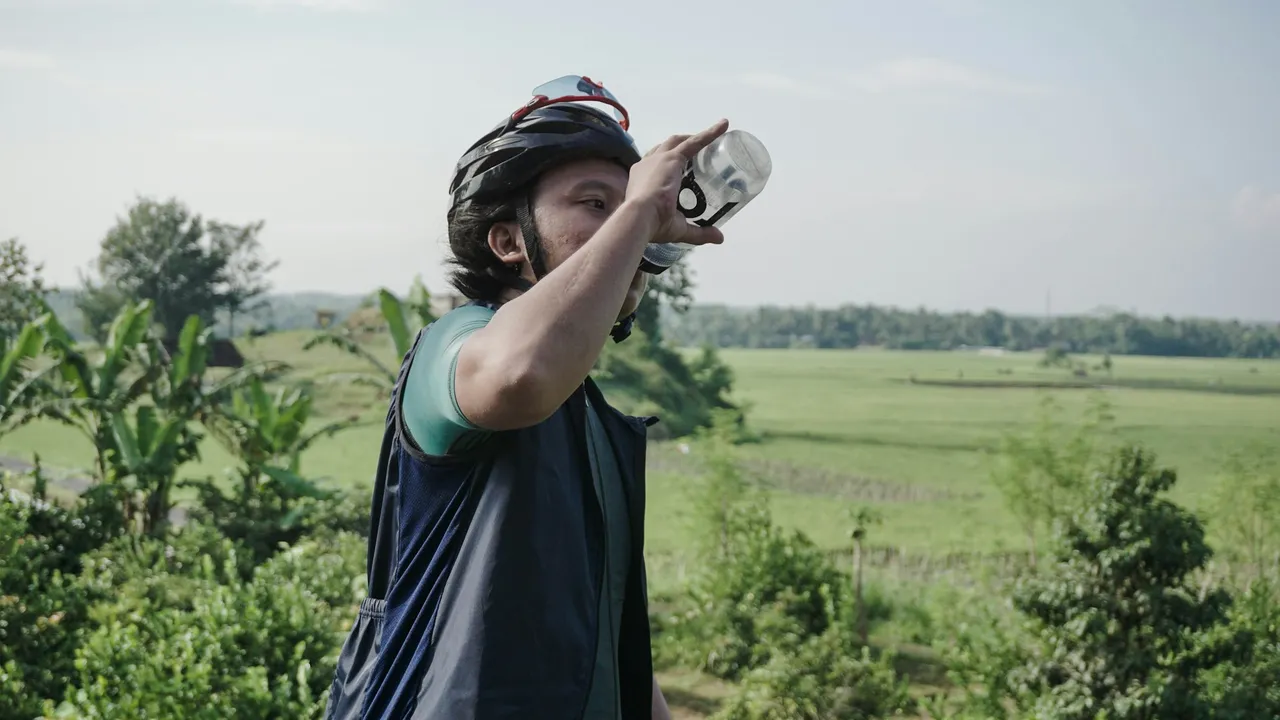
Four days into a hot tour the water starts tasting like a warm shower curtain. The water in the bladder is usually clean. The hose is not.
What you are tasting is biofilm, a slick layer of bacteria that builds on the inside of any wet plastic surface. It forms fastest in the bite valve and the last few inches of hose, where sugar residue, saliva and warm air meet and never dry out. Once it takes hold, rinsing with water does nothing, because you are rinsing the water and not scrubbing the wall.
The plastic taste itself is usually two problems wearing one coat. New TPU bladders off-gas for the first few fills, which fades. A bladder that tasted fine in April and tastes like a swimming pool in August is not off-gassing, it is colonised.
You need a mild oxidiser and mechanical contact. Nothing you can carry does one without the other.
The method that holds up best uses denture tablets, two of them, in a bladder filled with the warmest water you can get from a gas station tap. They are effervescent and mildly alkaline, they cost almost nothing, and they weigh about as much as a spare valve core. Drop them in, seal it, then hold the bladder above your head and squeeze the hose so the fizzing water runs all the way through the bite valve.
Leave it thirty minutes. Squeeze the hose again halfway through so the water in it turns over, because the hose is the part that is actually dirty and it holds maybe forty millilitres. Then rinse twice and taste the water from the valve, not from the reservoir opening.
Hydration on the Down-Tube: The Mud-Free Water Strategy
That down-tube bottle cage is critical real estate for water, but it is also a mud magnet. Here is how to setup a clean, dirt-free hydration system.
Vinegar works, at roughly one part to four parts water, and it is easier to find in a small-town grocery than denture tablets. It also needs longer contact and a much more determined rinse, and if you under-rinse it you have traded a shower-curtain taste for a salad taste. Use it when nothing else is available rather than by preference.
Bleach is a bad idea on tour. The dose that kills biofilm is close enough to the dose that degrades a TPU bladder, and you have no way to measure either accurately on a picnic table. Skip it.
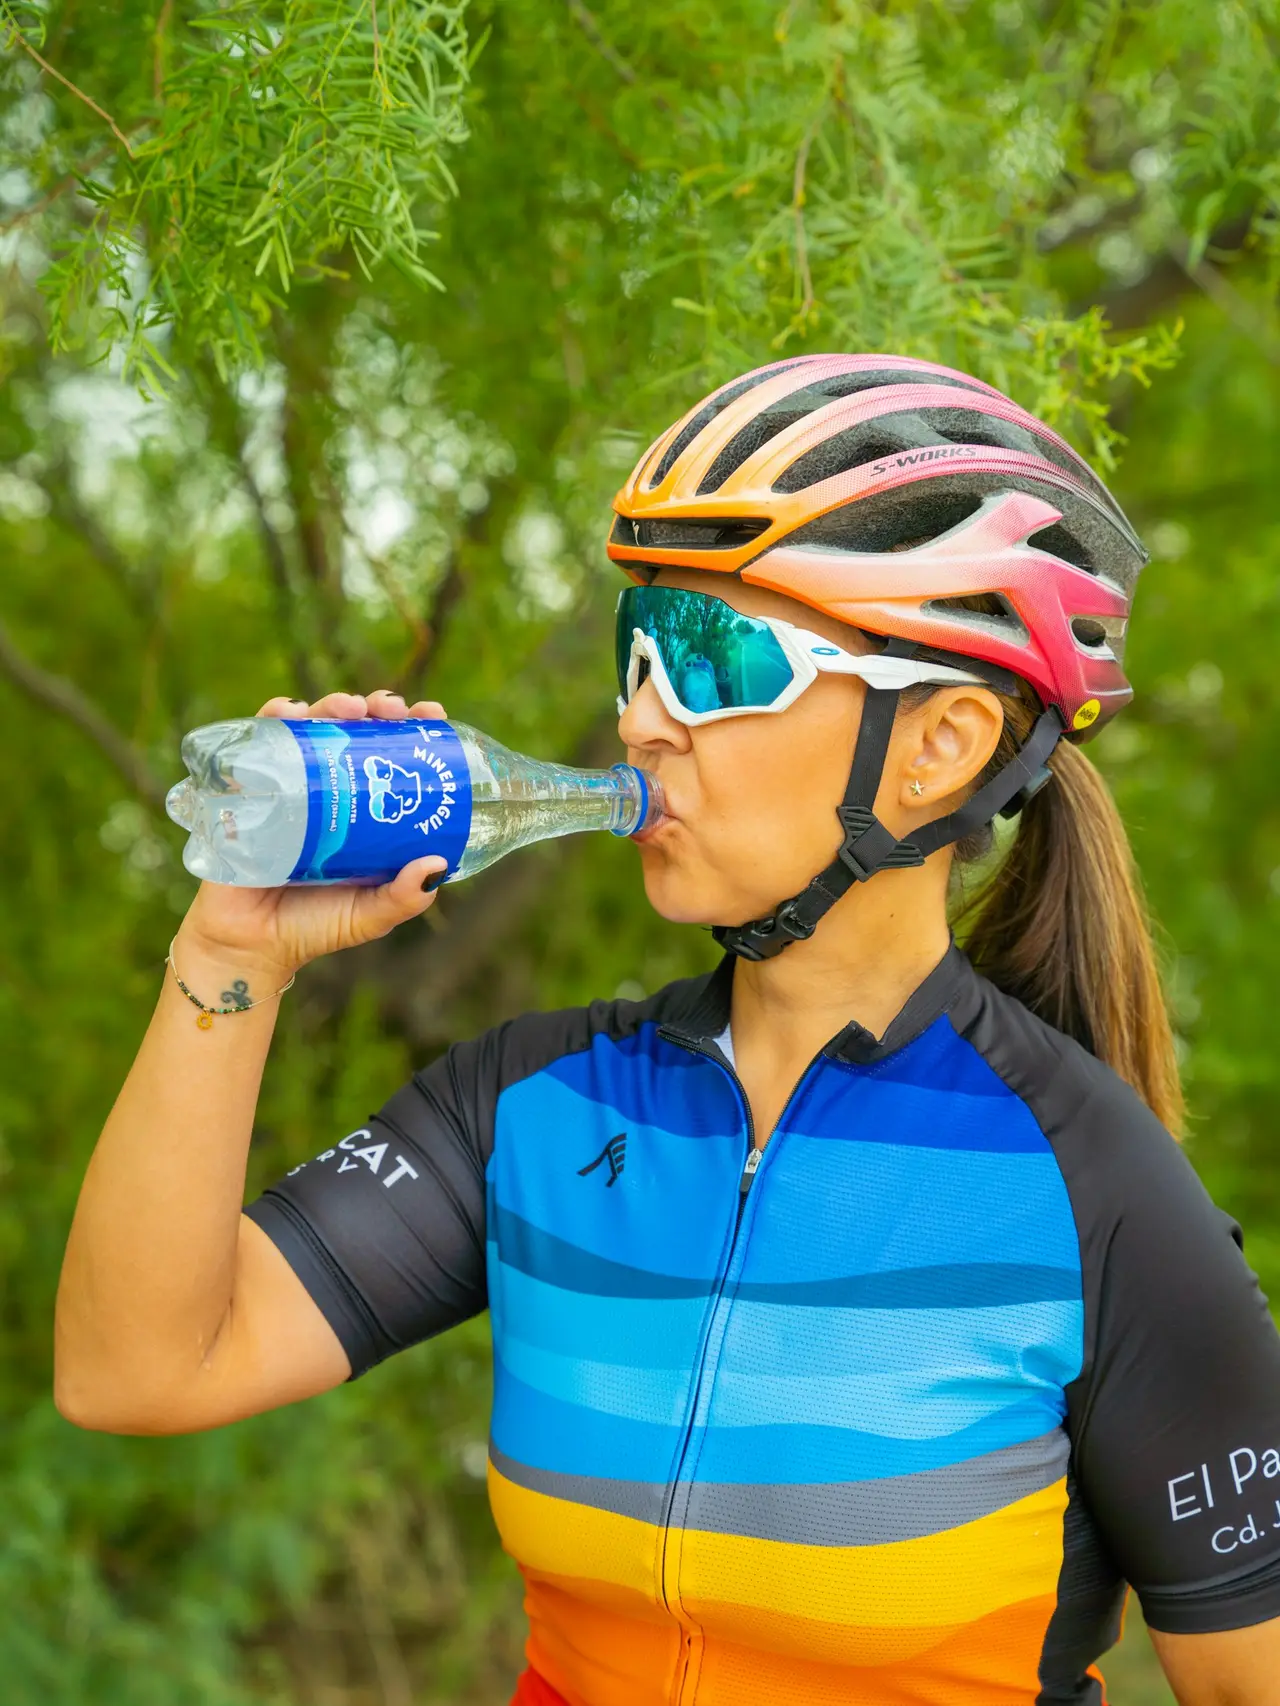
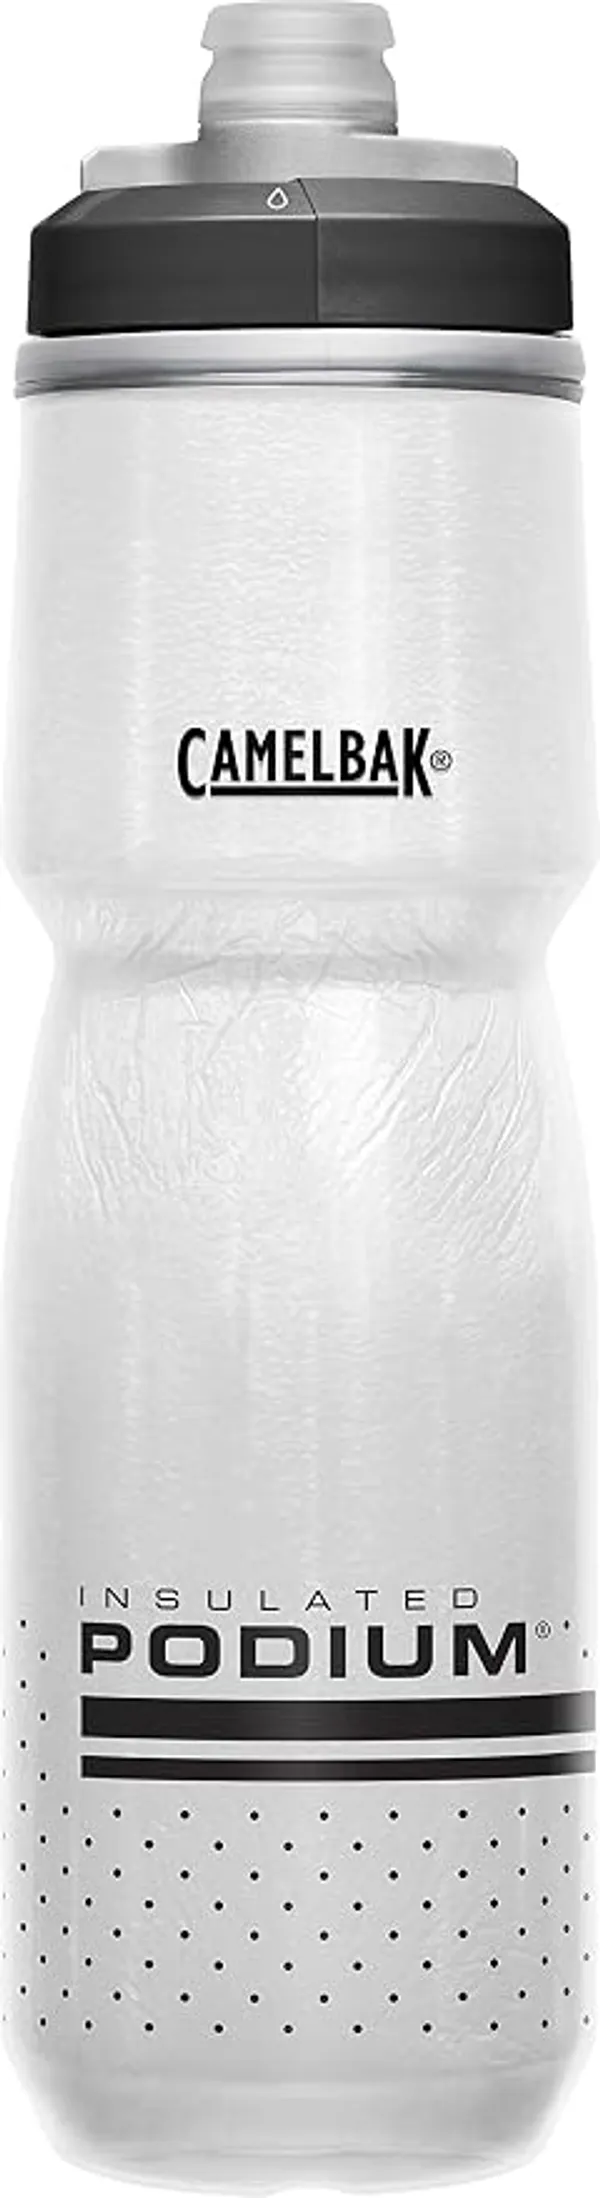
A hard bottle looks self-cleaning because you can see inside it. The failure point is the valve, and on an insulated bottle it is the whole lid assembly.
Pull the bite valve or the gasket out of the cap every few days and look at the underside. That hidden face is where the black speckling starts, and no amount of swishing reaches it. A folded corner of a bandana pushed through the cap opening with a tent stake does more in ten seconds than a full bottle of hot water.
Anything that carried an electrolyte mix gets cleaned that night, not tomorrow. Sugar is what turns a slow problem into a fast one, and a drink mix bottle left overnight in a frame bag at thirty degrees is a culture experiment.
At home you get two things you never get on tour: a bottle brush and unlimited hot water.
Run the bladder through with hot water and a drop of unscented dish soap, then use a long brush on the reservoir and a dedicated hose brush on the tube. The hose brush is the only single-purpose tool in this whole process worth owning, because a hose is a metre of surface you otherwise cannot touch. Rinse until the water coming out of the valve smells of nothing at all.
Then dry it properly, which is the step everyone skips. Prop the reservoir open with a whisk, a clean sock, or a couple of chopsticks, hang it upside down, and hang the hose separately so it drains. A bladder put away damp is a bladder you will be cleaning again in a week.
Three habits keep a hydration system clean across an entire tour, and none of them cost weight.
Freeze the bladder between trips. A sealed, mostly dry bladder in a freezer will not grow anything, and it takes ten minutes to thaw on the morning you leave. This single habit does more than any cleaning tablet.
Keep plain water in the bladder and put the drink mix in a bottle. The bladder is the hard thing to clean and the bottle is the easy one, so put the sugar where you can reach it. You can still get through six bottles of mix on a hot day with the reservoir staying clean throughout.
Blow the hose clear after every drink. One breath pushes the water back into the reservoir and leaves the tube and valve close to empty, which is enough to slow the film considerably. It becomes automatic after about a day, and it is the cheapest maintenance on your entire bike.
Best Budget Bikepacking Gear 2026: 10 Affordable Essentials
A full bikepacking setup without the flagship prices. Ten budget picks under $120 each, with the three that are false economy named.
None of this is complicated. It is just the difference between water you want to drink at kilometre ninety and water you have to force down, and on a hot day that difference decides how much you drink.
Eight ways to carry water on a loaded bike, from a $8 bladder to a titanium cage. Side-entry cages, insulated bottles, and what a frame bag does to your clearance.
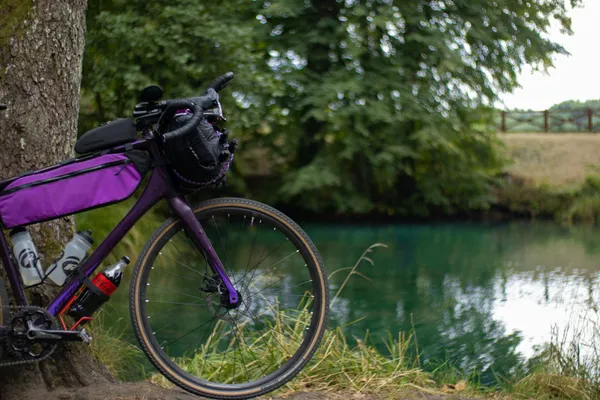
That down-tube bottle cage is critical real estate for water, but it is also a mud magnet. Here is how to setup a clean, dirt-free hydration system.
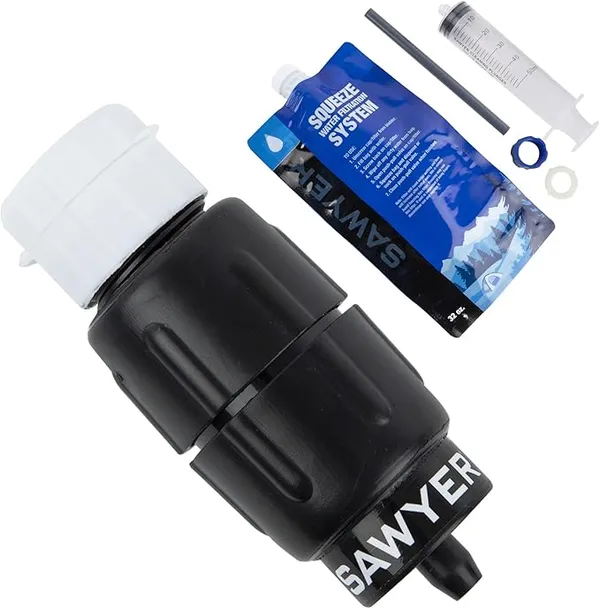
Nine filters and the parts that fail on them, from a $10 spare pouch to a pump that draws from a puddle. Flow rate, cartridge life, and what freezing does.

Mark is accustomed to carrying his body weight in water across the Southwest. Meticulous about load distribution, if a piece of gear rattles or rubs, Mark will find a way to fix it with a Voile strap and some duct tape.