Hydration
The Best Bikepacking Water Bottles, Cages and Bladders
Eight ways to carry water on a loaded bike, from a $8 bladder to a titanium cage. Side-entry cages, insulated bottles, and what a frame bag does to your clearance.
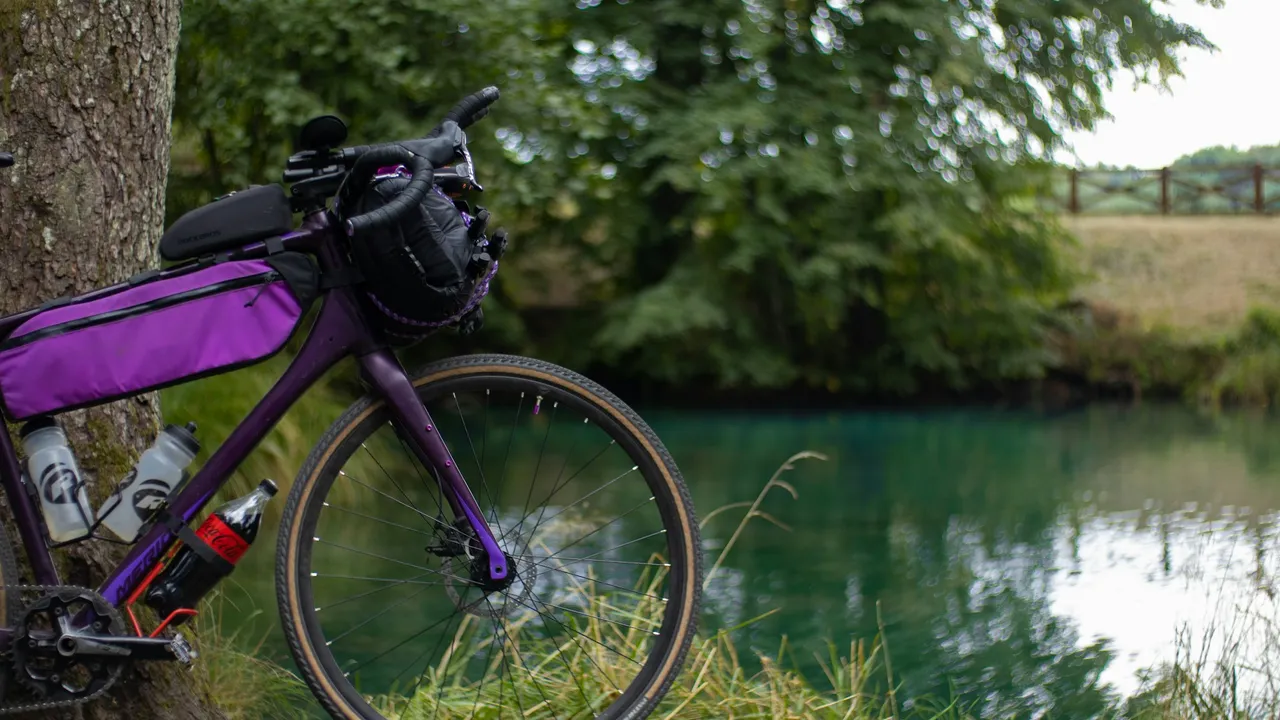
If you have spent any time riding through agricultural land or on rainy gravel, you know the clog of shame. You reach down for your third bottle only to realize the valve is completely encased in a mixture of limestone grit and questionable organic matter from the local cattle ranch.
Feeding yourself a mouthful of cow manure is a great way to end up with a severe stomach bug 100 miles from civilization. Yet that under-the-down-tube real estate is critical for low center-of-gravity weight distribution. You simply cannot afford to lose that liter of water on a dry route.
In the desert, everything is covered in fine abrasive silt. In the Pacific Northwest, everything is covered in a wet grinding paste. Here is how to use that storage space without making yourself ill.
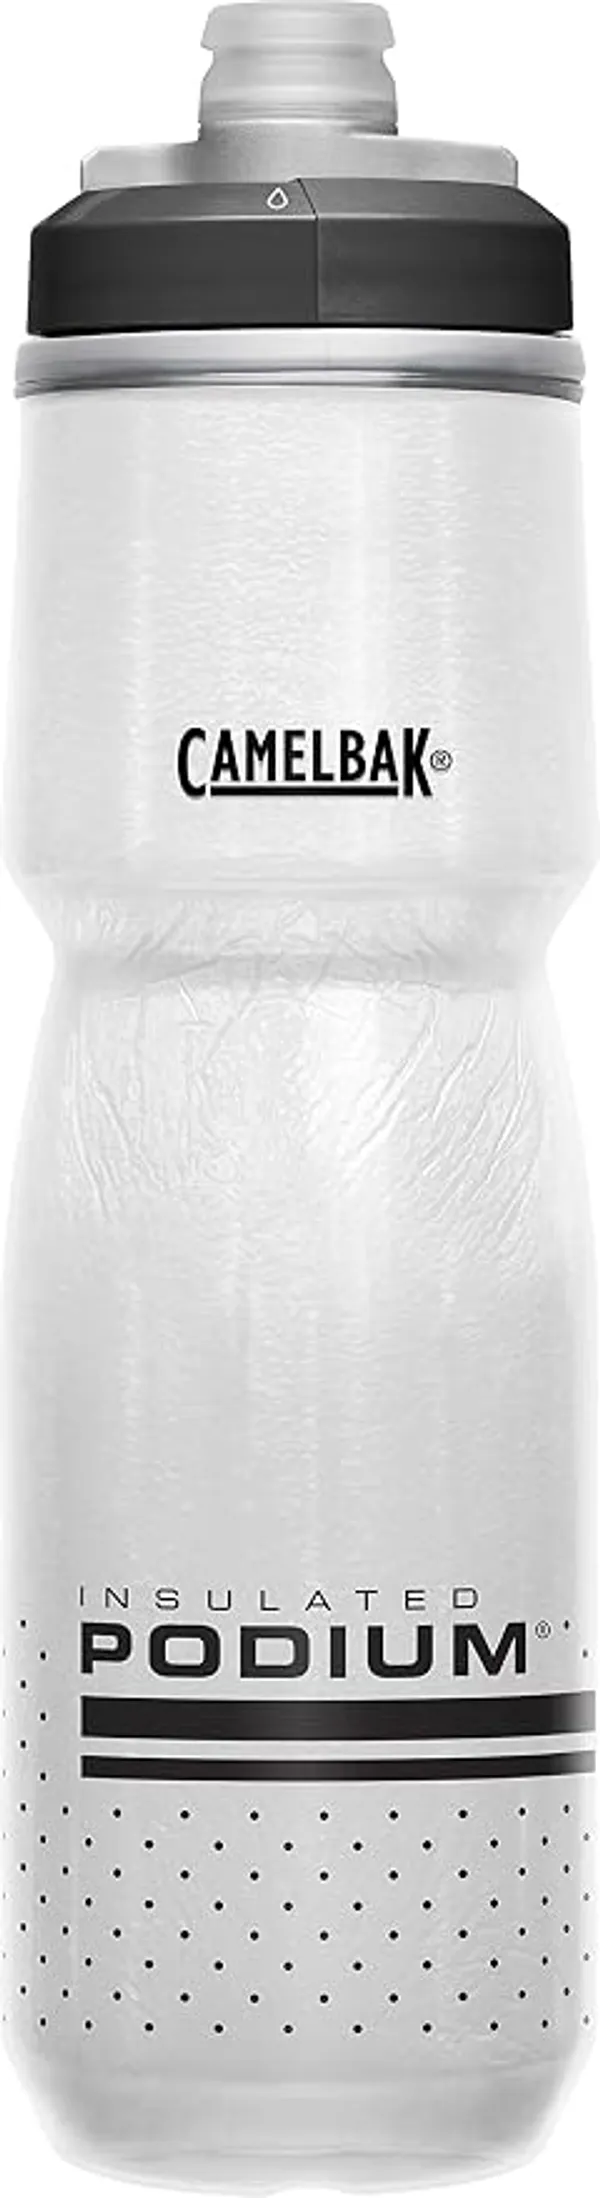
If you are running a standard open valve bottle underneath your bike, you are asking for trouble. You absolutely need a dedicated Dirt Series bottle with an integrated hard plastic mud cap.
It does not matter how elite or aerodynamic the bottle is. Without a physical plastic shield over the silicone nozzle, it does not belong on the down tube. Wiping the mud off with a glove — the instinctive fix — grinds contamination further into the seal rather than removing it.
If you cannot buy new bottles right now, you must use a dirtbag fix. Wrap a clean piece of plastic wrap over the valve and hold it tight with a rubber band. It is ugly and highly annoying to remove, but it keeps the pathogens off your drinking surface.
The Ultimate Bikepacking Gear List for Beginners (2026 Guide)
Everything you actually need for a first multi-day gravel trip in 2026, from bags to sleep systems, with the kit we would skip and why.
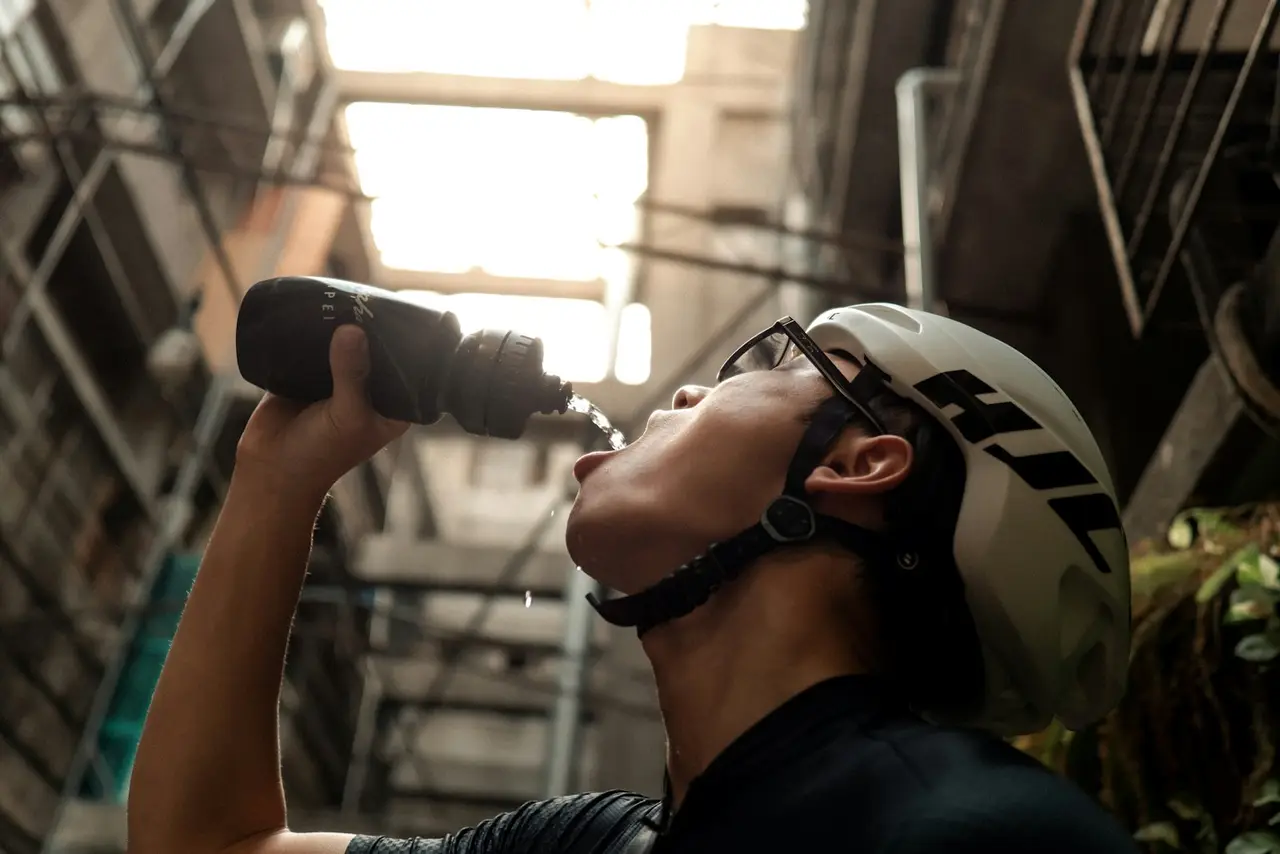
Never treat the down-tube bottle as a primary drinking source. Its job is dirty reserve.
Logic dictates that you should drink from your clean cockpit-mounted bottles first. When those are empty, find a safe spot to stop and manually swap the bottles. Use a clean rag to wipe down the threads of the dirty bottle before you even attempt to take a sip.
Best Budget Bikepacking Gear 2026: 10 Affordable Essentials
A full bikepacking setup without the flagship prices. Ten budget picks under $120 each, with the three that are false economy named.
The rule: if the bottle is too dirty to touch with bare hands, it is too dirty to put near your mouth. Use it solely to refill a Sawyer Squeeze filter bag. That keeps the dirty exterior isolated while the filtered water goes into your clean bottles.
If your frame is small, you might find your down-tube bottle is actually hitting your front tire on technical descents. Look into a solid cage relocator system like the Wolf Tooth B-RAD mount.
Moving the bottle just two inches higher up the tube can drastically reduce the amount of spray it catches from the front wheel. The friction point here is that moving the bottle up often interferes with your front chainring on a 2x setup. You must test the clearance thoroughly before hitting the trail.
Combining a relocated cage with a long front fender is the ultimate solution for keeping your hydration kit clean. Do not let a mouthful of dirt ruin a multi-day trip. Protect your valves like you protect your chain.
The down-tube cage sits directly behind the front wheel, which means everything the tyre picks up arrives there first and at speed.
On a gravel bike with clearance for wide tyres, the gap between tyre and down tube is large enough to let spray through and small enough to concentrate it. The bottle catches grit on the shoulder, the threads and the valve, which is exactly where your mouth goes.
This is also the position most affected by frame bags: a full frame bag often blocks the down-tube cage entirely, which is worth checking before you buy either.
A bottle with a cover is the simplest fix. Cages designed for this position, or a bottle with a hinged cap, keep the valve clean without any additional parts.
A cut inner tube stretched over the bottle top is the free version and works surprisingly well. Slide it up to drink and back down after, and replace it when it perishes.
A front mudguard is the fix nobody wants to fit and the one that solves the problem at source. Even a short guard stops most of what reaches the down tube, and on a bike already carrying four kilos of luggage the weight argument is thin.
Moving the bottle is the other answer. A fork cage, a top tube bottle or a frame bag bladder all sidestep the problem entirely, at the cost of somewhere else to put things.
Assume the bottle will get dirty and plan to deal with it rather than trying to keep it pristine.
Rinse the valve before drinking after any wet section. A splash from a second bottle or from the tap at a resupply stop is enough, and it takes seconds.
Carry the down-tube bottle as your utility water rather than your drinking water, if you carry two. Use it for cooking, cleaning and refilling the clean bottle, and drink from the one on the seat tube or in the frame bag.
At the end of the day, take the cap off and let it dry. Sealed damp caps are how bottles start tasting of the trip.
Two bottles plus a bladder covers most gravel routes, but the useful number is not total capacity, it is capacity between reliable refills.
Plan around known water rather than around how much you can carry. Two litres on a route with a tap every thirty kilometres is generous. The same two litres on a remote section is not enough, and no bottle arrangement changes that.
Carry a filter if there is any natural water on the route. It is lighter than the water it saves you carrying, and it turns every stream into a refill point.
Cover the valve. A bottle with a hinged cap, a purpose-made cover or a section of old inner tube stretched over the top all work. A front mudguard solves it at source and is the option most riders resist and then wish they had fitted.
Yes, for utility water. Use it for cooking, cleaning and refilling, and drink from a cleaner position like the seat tube or a frame bag bladder. Many frame bags block the down-tube cage entirely, so check compatibility before buying either.
Plan around distance between reliable refills rather than total capacity. Two litres is generous with a tap every thirty kilometres and inadequate on a remote section. A filter weighs less than the water it saves you carrying.
On a bike already carrying several kilos of luggage, the weight argument against a short front guard is weak. It keeps spray off the bottle, the bottom bracket and your feet, and it makes wet days considerably less miserable.
Usually a cap left sealed while damp. Take the cap off at the end of each day and let it dry. Rinsing the valve after wet sections also stops grit getting into the drinking mechanism in the first place.
Eight ways to carry water on a loaded bike, from a $8 bladder to a titanium cage. Side-entry cages, insulated bottles, and what a frame bag does to your clearance.
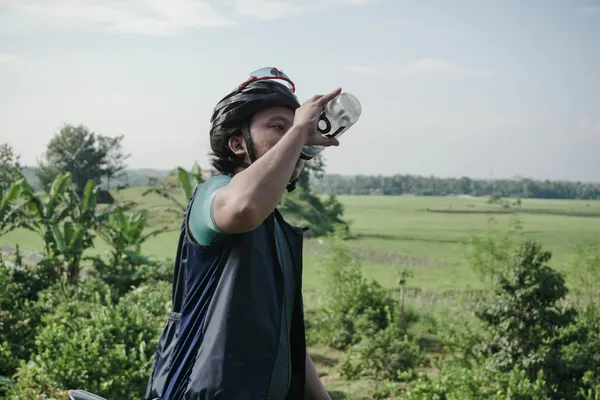
Your water tastes like a shower curtain because something is growing in the hose. Here is the field clean, the deep clean, and how to stop it coming back.
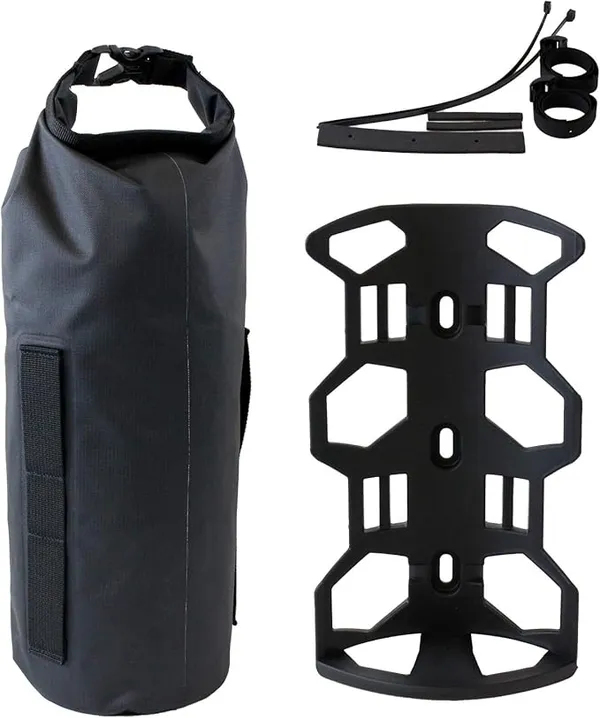
Six ways to use the empty space on your fork legs, from a $33 cage-and-bag set to a clamp mount for forks with no bosses. Load limits and what balance does.

Mark is accustomed to carrying his body weight in water across the Southwest. Meticulous about load distribution, if a piece of gear rattles or rubs, Mark will find a way to fix it with a Voile strap and some duct tape.