
Guides
10 Best Kindle Books for Bikepackers (Weightless Adventure Reading)
Save weight and space on your next tour with our favorite Kindle reads for bikepackers, from technical maintenance guides to global adventure memoirs.

There is absolutely nothing worse than grinding up an 18 percent gravel climb out of the saddle only to feel your entire bike aggressively tugged sideways. Your massive saddle bag swinging like a metronome destroys your handling and wastes climbing wattage. I once battled a severe tail wag for 60 miles across the Colorado Trail because I casually jammed my gear in without a strategy.
Seatpack sway is arguably the number one complaint among new bikepackers. While some cheap bags are legitimately structurally flawed, it is entirely a packing issue in ninety percent of cases. When you strap a massive weight cantilevered over your rear axle, physics demands absolute perfection.
If you learn how to load a bag logically and correctly tension the harness system, you can deaden the pendulum effect entirely. Here is the strict packing hierarchy required to permanently stabilize a large tail bag.
You absolutely must mitigate the leverage the bag has over your center of gravity. Everything dense and heavy practically needs to be bolted to the seatpost itself.
If you put a heavy camp stove or a dense bag of trail mix at the far rear end of the bag, you create a massive and unforgiving lever arm. Every minute movement of the bike will be amplified tenfold when you corner. I had a riding partner snap a cheap harness strap simply because his heavy steel tools were sitting at the very back of the sway arc.
The Strict Staging Order:
We destroyed 7 bikepacking seatpacks on 500km of washboard gravel. Discover the waterproof large saddle bags that actually maintain stability under load.
A floppy bag will sway inevitably. If there is air trapped inside the dry bag component, the contents will violently shift when you hit washboard gravel.
Once your gear is completely inside, you must compress the absolute hell out of it before you seal the roll-top. It requires actual body weight to do this correctly.
Roll the top down twice to create a temporary semi-seal. Physically lean your entire upper body onto the bag to force the trapped air out through the one-way purge valve. If you lack a purge valve, leave the roll top slightly loose, crush all the air out with your forearms, and then rapidly finish the structural seal.
A seatpack packed correctly should feel almost like a solid piece of lumber rather than a squishy pillow. If you can physically squeeze it and hear air displacing, you need to unpack it and try again.
Once the bag is packed rock-solid, the connection to the bike must be totally unyielding. The best packing job in the world will never save a loose harness system.
The velcro straps around the seatpost must be excessively tight. However, if you are running a carbon seatpost, be acutely aware that concentrated velcro loads can cause catastrophic delamination over rough terrain. You must actively run a protective rubber sleeve or wrap the post in thick protective tape first.
The saddle rail straps are what actually handle the brutal vertical load. Route them cleanly over the alloy or carbon rails while ensuring they are not twisted in the buckles. Pull them tight while physically lifting the heavy tail of the bag upward with your other hand. This physically takes the dead weight off the straps while you tension them, allowing you to easily get an extra inch of purchase.
Avoid overpacking! Our ultimate beginner bikepacking gear list covers every essential for your first multi-day gravel trip, from bags to sleep systems.
If you have applied all of the above and your bag is still whipping wildly when you stand up to sprint, your bag internal skeleton is failing. Flexible nylon harnesses simply stretch when wet and fundamentally cannot handle heavy gear over chunk.
You cannot magically fix a structurally deficient harness with better packing technique. If you are constantly running into this ceiling, it is time to read our brutal field tests on the best bikepacking seatpacks. You need to find modern models utilizing rigid internal plates that mechanically prohibit tail wag.
Using a dedicated stabilization bracket like the alloy models from Woho can also physically lock the bag in place. However, these brackets add significant complexity and dead weight to your ultralight setup.
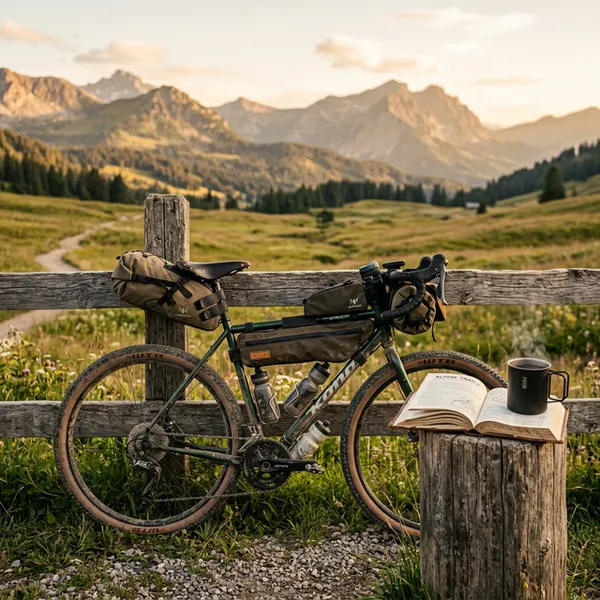
Save weight and space on your next tour with our favorite Kindle reads for bikepackers, from technical maintenance guides to global adventure memoirs.

From practical guides like Bikepacking Illustrated to global epics like Two Years on a Bike, we review 13 essential books for every adventure cyclist's library.
Silence the maddening clatter of chain slap. Simple fixes to protect your paint and restore peace.
Based in Colorado, Ryan is the guy who spends his Friday nights plotting questionable out-and-back routes. He focuses on practical, budget-conscious setups that work. He's learned the hard way that you don't need a $500 tent to sleep well in the woods.