Bags
How to Pack a Frame Bag Without Wrecking the Handling
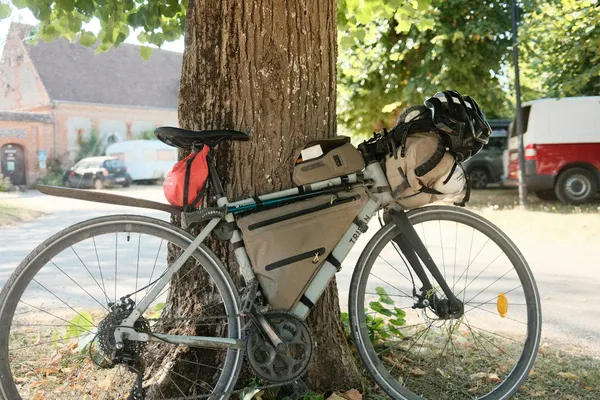
The frame bag is the only place weight is genuinely free. Here is what belongs in it, what does not, and the packing order that keeps the bike steady.
The first overnighter goes wrong in remarkably consistent ways. A 20L dry bag strapped to a cheap rear rack, something absurdly heavy in the frame bag, and a front wheel that skips off the gravel on the first fire-road descent because the whole load is behind the saddle. These five mistakes account for most of it.
Packing a gravel bike for a multi-day trip isn't just about making things fit into tiny expensive bags. It’s about maintaining the handling of a bike that objectively wasn't designed to carry 30 pounds of camping gear. Most riders figure this out the hard way, usually halfway up a 15% grade in the freezing rain.
If your bike handles like a drunk shopping cart, you are packing it wrong. Here are five incredibly common packing mistakes you are probably making right now, and how to logically fix them before your next route.
The absolute biggest mistake you can make is putting all your dense, heavy gear into a massive saddle bag. Physics doesn't care about your packing logic or how clean the setup looks on Instagram. If you put 15 pounds of tools, food, and water three feet behind your center of gravity, you create a massive lever.
Every time you stand up to pedal over a punchy climb, the bike tries to whip you backward. This tail-wag exhausts your core and ruins your descending. It is also the single most common complaint in beginner threads: riders describing a bike that feels fine on tarmac and unrideable the moment the surface breaks up, almost always with a heavy seatpack and an empty frame triangle.
The fix is incredibly simple. Move all of your dense weight to the center of the bike frame. Frame bags should hold your water bladder, heavy food, and dense tools. Your seatpack should exclusively hold high-volume, low-weight items like your sleeping bag and puffy jacket.
12 Best Bikepacking Saddle Bags (Large 10L+ Seatpacks) for 2026
Twelve large bikepacking seatpacks compared on the thing that actually fails: the harness. Which 10L+ saddle bags resist tail sway, and which ones we would not put a loaded bag on.
"Water resistant" is marketing speak for "this will soak completely through in approximately 12 minutes of real rain." Do not trust your $400 down sleeping bag to a single layer of nylon just because it has a factory DWR coating. DWR coatings wear off rapidly when bags rub against your saddle rails or thighs.
If your sleeping kit gets wet, your trip is functionally over, and if temperatures drop a wet down bag becomes a hypothermia risk. Note where the water actually gets in: not through the fabric, but through zips. A zip described as "waterproof" on a $40 bag is water-resistant with a coated tape over it, and standing water will find it.
Buy fully seam-welded, waterproof dry bags for anything that must stay dry. Roll the top down at least three solid times, and then purge the remaining air out of the valve. If you are extremely paranoid (and you should be), line the inside of your seatpack with a heavy-duty trash compactor bag. It adds basically zero weight, costs nothing, and is completely waterproof.
Best Budget Bikepacking Gear 2026: 10 Affordable Essentials
A full bikepacking setup without the flagship prices. Ten budget picks under $120 each, with the three that are false economy named.
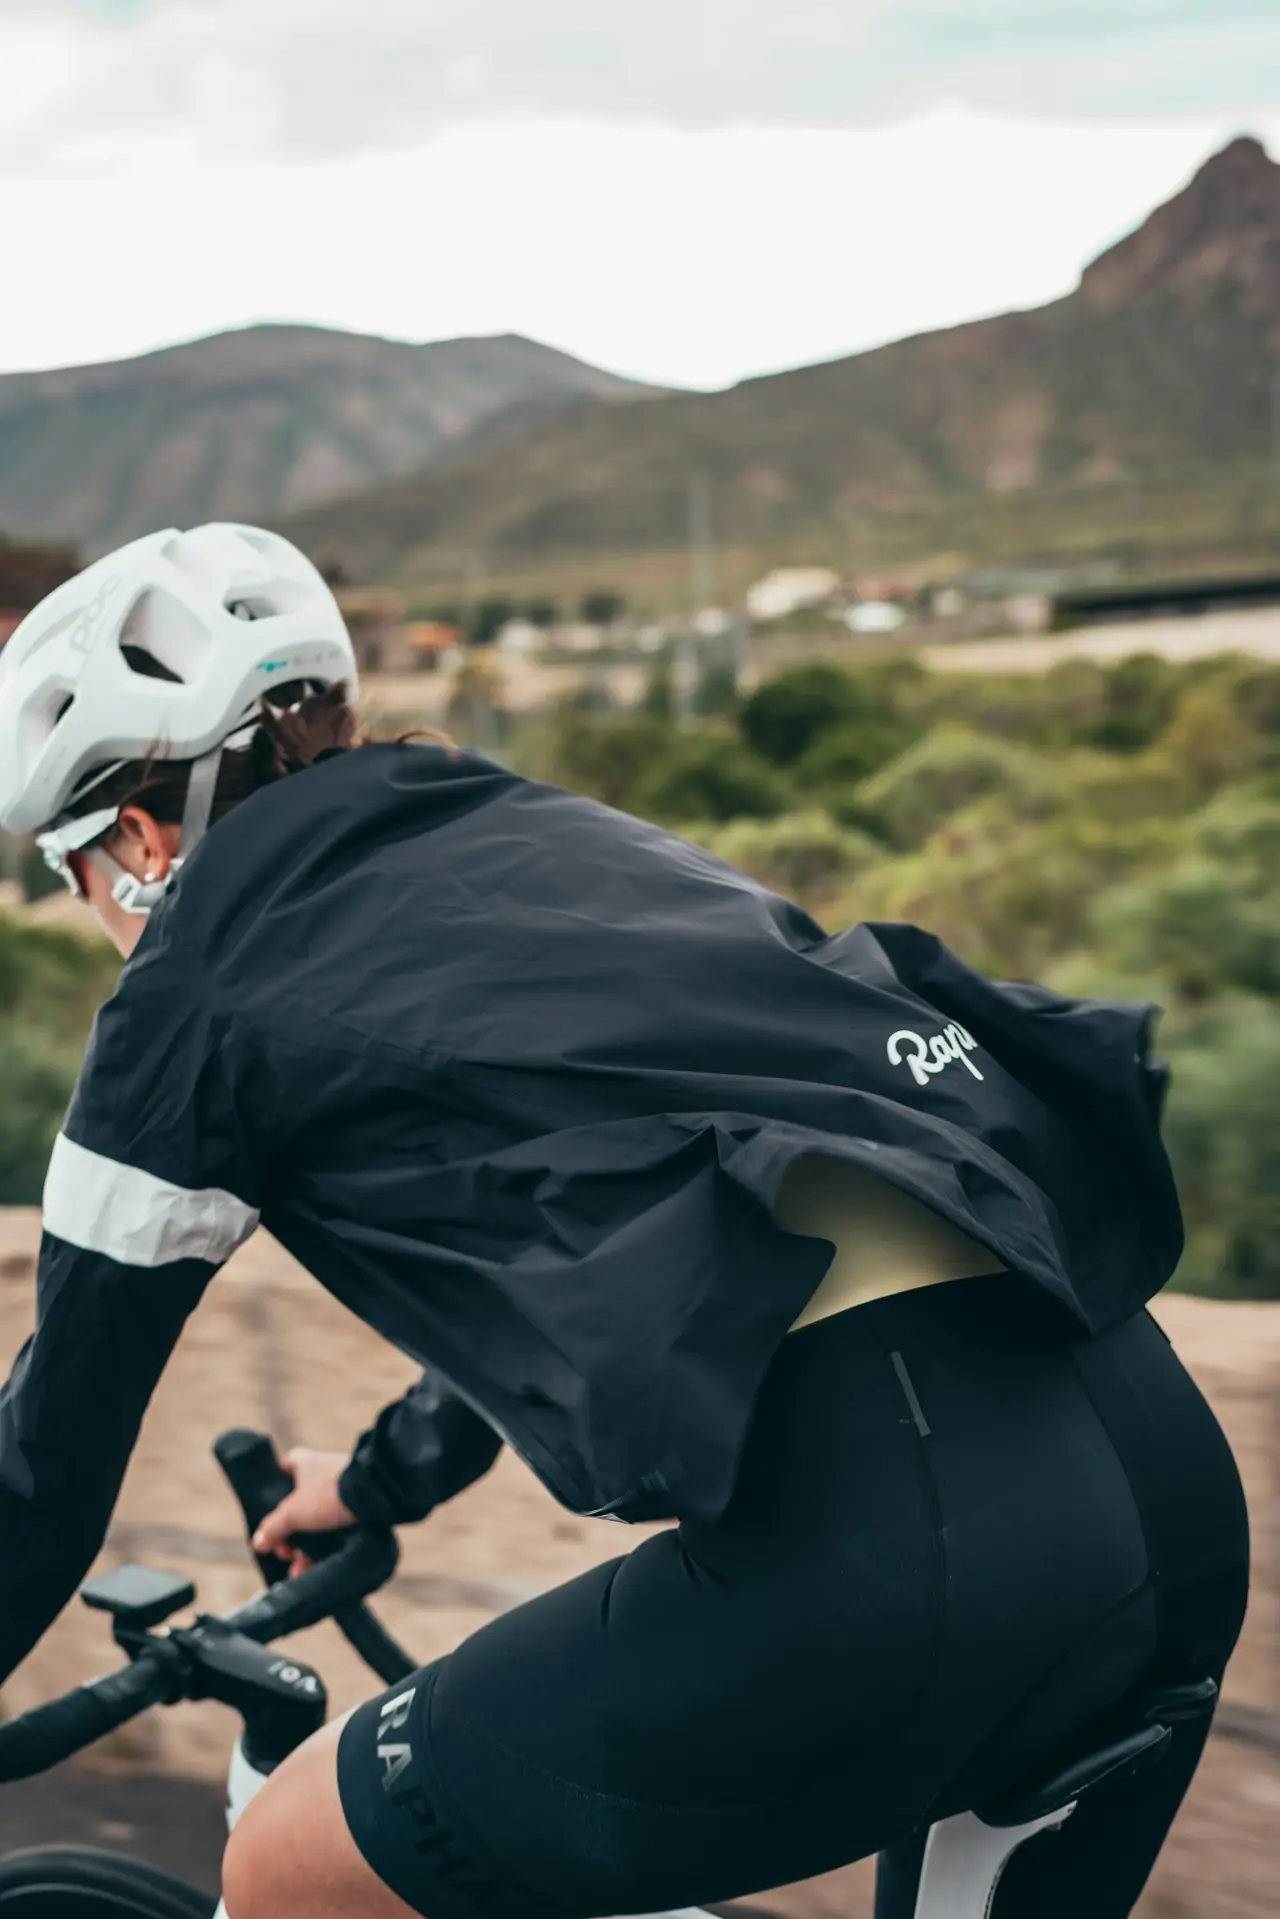
Packing your rain jacket at the very bottom of your seatpack is a rookie move. It guarantees you will get completely soaked while frantically digging for it on the side of a muddy trail. The same logic applies to your trail snacks, water filters, and your multi-tool.
You need to compartmentalize your gear based entirely on access frequency. Deep storage is for things you only touch at camp, like your tent body or stove. Mid storage is for lunch breaks and first aid kits.
Action storage is for things you need while physically pedaling. Utilize top tube bags and stem/feed bags for your action storage. You shouldn't have to stop the bike and undo three compression straps just to eat a gummy block or check your Garmin.
You are going to smell bad on day two. Accept it now and move on. Trying to stay perfectly clean on a bikepacking trip is a logistical nightmare that results in packing three pairs of shorts and four shirts.
It’s pointless bulk that takes up valuable food storage space. You need a dedicated, heavily-tested layered system, not a fresh outfit for every day of the week. Bring one riding kit, one set of merino wool camp clothes that you never ride in, and your rain/warmth layers.
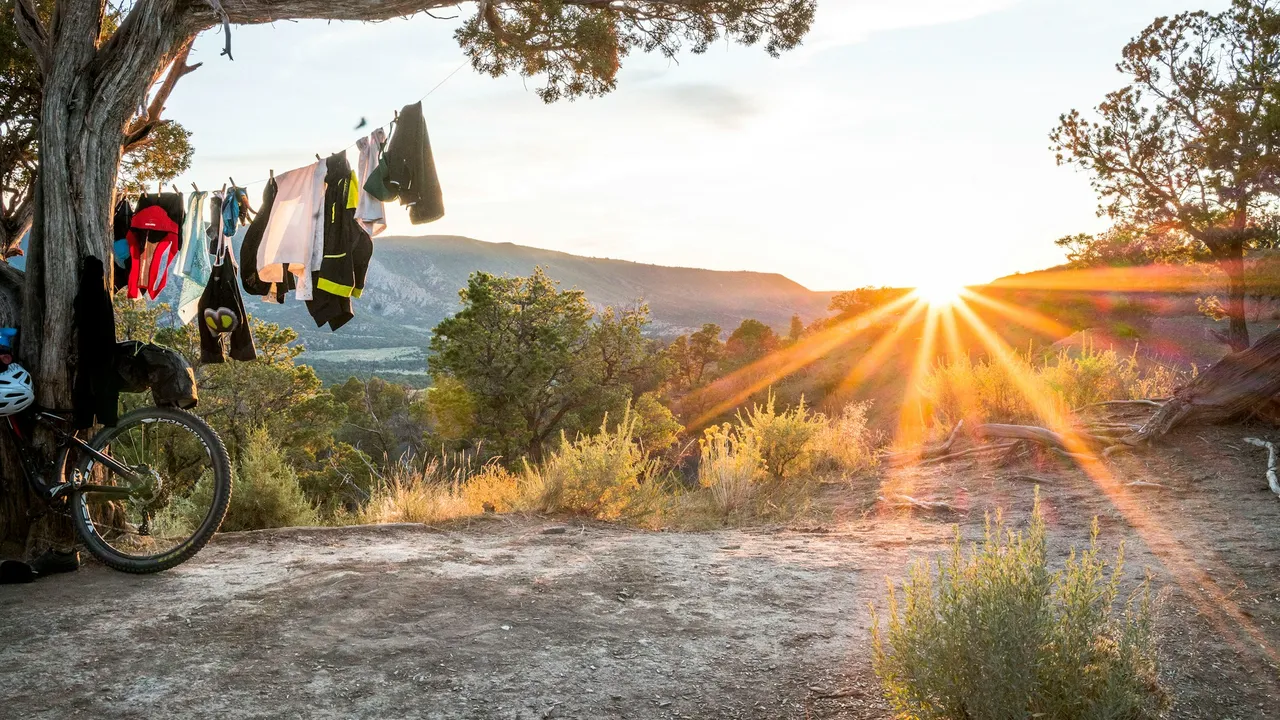
If your riding kit gets absolutely filthy, wash it in a creek. You can strap it to the outside of your tail bag with Voile straps to dry in the sun while you ride. Let go of your domestic hygiene standards and your packing volume will drop by 30%.
Letting your loaded bar bag rub against your front tire for 40 miles will literally melt a hole through the bag fabric. It will also quickly destroy your tire tread and potentially cause a blowout on a fast descent. The exact same rule applies to seatpacks dropping onto the rear tire when the straps loosen over washboard terrain.
Always physically compress your bags down with your hands before you leave the driveway. Pushing down hard on the bags simulates the bouncing load of trail riding and reveals if you actually have enough clearance.
If things touch the rubber under pressure, you need to repack tighter. You can also use dedicated bumper blocks (like foam spacers on the handlebars) to push the bags further away from the frame and tires. Taking 5 minutes to verify clearance in the garage saves you from a catastrophic bag failure on day one.
Most overpacking is emotional rather than practical. You pack for the version of the trip where everything goes wrong at once, and then carry that anxiety up every climb.
The corrective is boring and effective. After a trip, lay out everything you carried and split it into three piles: used daily, used once, never touched. Photograph the third pile.
Next trip, leave it behind. Repeat this twice and your kit list stops being aspirational and starts being accurate. Almost nobody gets there by reasoning about it in the kitchen.
Total weight matters less than where it is. Two riders carrying the same eight kilos can have completely different bikes underneath them.
Weight low and central is invisible. That means the frame bag, and it is why the frame bag is the most valuable piece of luggage on a gravel bike even though it holds the least.
Weight high and at the ends is what makes a bike feel unstable. A heavy handlebar roll makes the steering vague and slow. A heavy seat pack tail sways. If the bike feels wrong, redistribute before you remove.
The first time you ride the bike fully loaded should not be the first morning of the trip.
Load it exactly as you plan to ride it and do thirty kilometres, including a climb and a rough descent. You will discover in that ride what would otherwise cost you the first two days: straps that need retensioning, a bag that fouls your thigh, a bottle you cannot reach, a rattle you cannot ignore.
Sleep in the setup once too, in the garden if necessary. Finding out that the pad valve leaks is much cheaper at home.
Food is the heaviest consumable and the easiest to get wrong in both directions.
Carrying three days of food through a town every four hours is dead weight. Carrying none into a remote section is worse. The fix is planning around resupply points rather than around meals: mark where you can buy food, then carry only what bridges the gaps.
Keep one emergency meal that needs no cooking, permanently, at the bottom of a bag. It is the difference between a hard evening and a genuine problem.
New bikepackers pack for weather and forget mechanicals, which are far more likely to end a trip.
The minimum is a multi-tool with a working chain breaker, two quick links, a pump, a plug kit if you run tubeless, one tube regardless, and a spare derailleur hanger for your specific frame. The hanger is the one nobody carries and the one that cannot be improvised or bought in a village.
Know how to use each item before you leave. A tool you have never used is optimism, not preparation.
Less useful a question than where the weight sits. Eight kilos low and central in a frame bag rides better than five kilos high in a bar roll. If the bike feels unstable, redistribute before you start removing things.
Spare clothing beyond one dry set, cooking equipment for meals they end up not making, and multiple redundant tools. The reliable way to find out is to lay out your kit after a trip and split it into used daily, used once, and never touched.
Yes, fully loaded, including a climb and a rough descent. It costs one afternoon and it surfaces the strap tension, bag clearance and rattle problems that would otherwise consume the first two days of the trip.
Only enough to bridge the gaps between resupply points, plus one emergency meal that needs no cooking. Food is the heaviest consumable, and carrying three days of it through a town every few hours is pure dead weight.
A derailleur hanger for your specific frame. It cannot be improvised, no village shop will stock yours, and a bent one ends the trip. It weighs almost nothing and lives permanently in the tool roll.
The frame bag is the only place weight is genuinely free. Here is what belongs in it, what does not, and the packing order that keeps the bike steady.
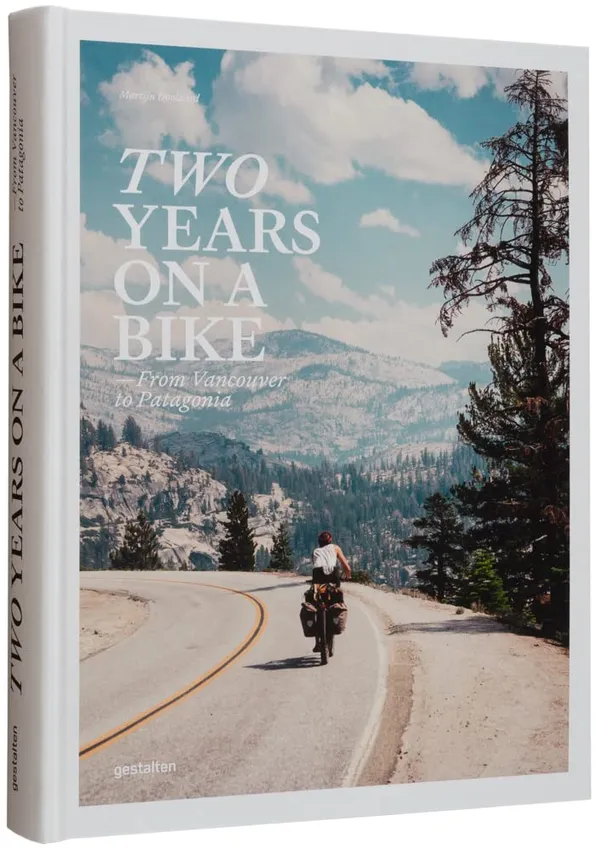
The 12 bikepacking books worth the shelf space in 2026, from practical route guides to the long-distance epics that got us riding.
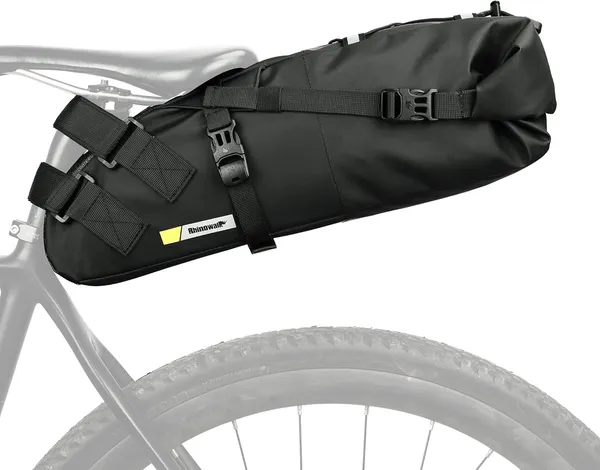
Three seatpacks between $22 and $46 compared on waterproofing, sway, thigh clearance and what actually breaks first. All three keep water out.
Jake has spent the last 5 years pushing his bike through the muddiest backroads of the Pacific Northwest. He isn't a professional racer, but he knows exactly what gear breaks first and what actually lasts when you're 40 miles from the nearest town.