
Guides
10 Best Kindle Books for Bikepackers (Weightless Adventure Reading)
Save weight and space on your next tour with our favorite Kindle reads for bikepackers, from technical maintenance guides to global adventure memoirs.
I was twenty miles into a remote Kansas route when a piece of sharp flint sliced my rear tire sidewall. White sealant sprayed aggressively across my seat tube and my tire pressure plummeted to zero in seconds. I fumbled with a cheap plug kit while the remaining air hissed out into the wind.
Most gravel riders rely entirely on liquid sealant to fix punctures automatically. Sealant works perfectly for tiny goathead thorns in the desert but fails miserably on glass cuts or jagged rock slices. You must know how to deploy a plug correctly before the tire goes completely flat.
If you are slow to react, you lose all your air and the bead unseats from the rim entirely. Reseating a tubeless bead on a dusty trail with a high-volume hand pump is a punishing and nearly impossible task.
Speed is absolutely critical when dealing with a larger puncture that overwhelms your sealant. Keep your plug kit immediately accessible in a top tube bag or an outer jersey pocket. Do not bury it at the bottom of your saddlebag under your spare rain jacket.
I strongly recommend having your plug loaded on the insertion tool before you even start the ride. Trying to thread a sticky bacon strip through the eyelet of a tool while your tire goes flat is incredibly stressful. Tools like the Dynaplug Racer Pro come pre-loaded and save precious seconds.
When you hear that distinct hiss of air loss, brake immediately and find the hole. Rotate the wheel so the puncture sits at the lowest point nearest the ground. This forces the liquid sealant directly over the cut to aid in sealing while you grab your tool.
Pushing a dry plug into a tight reinforced tire casing requires significant physical force. It often feels like you are going to push the tool straight through the rim tape on the other side. Jab the tool straight into the hole until only a small fraction of the plug remains visible on the outside.
Do not twist the tool on the way in or out. Twisting can tear the casing further or snap the bacon strip entirely. Pull the tool out quickly and cleanly in one straight motion.
Build a high-performance bikepacking setup without the high price. We review the 10 best budget-friendly gear essentials from Amazon for gravel adventures.
The plug will stay lodged securely in the tire casing and stop the air loss. Spin the wheel rapidly a few times to let the remaining liquid sealant coat the inside of the new plug. This fills any microscopic gaps around the repair.
Fixing a puncture in the center tread is entirely different from fixing a sliced sidewall. Center tread punctures are usually clean holes from nails or wire which plug very easily. A sidewall slice from a sharp rock on a fast descent is jagged and under immense structural stress.
If you slice a sidewall on rough terrain, a single plug will rarely hold. You often need to insert two or three bacon strips side-by-side to fill a larger slash. The plug will inevitably get ripped out by a sharp rock if you do not trim the excess material flush with the casing.
Even then, a heavily plugged sidewall will bulge outwards under high tire pressure. If you are riding heavy chunk or carrying a loaded bikepacking rig, a sidewall boot and an inner tube is the only safe way to finish the route. Tubeless plugs are permanent fixes for the tread, but they are merely temporary bandages for the sidewall.
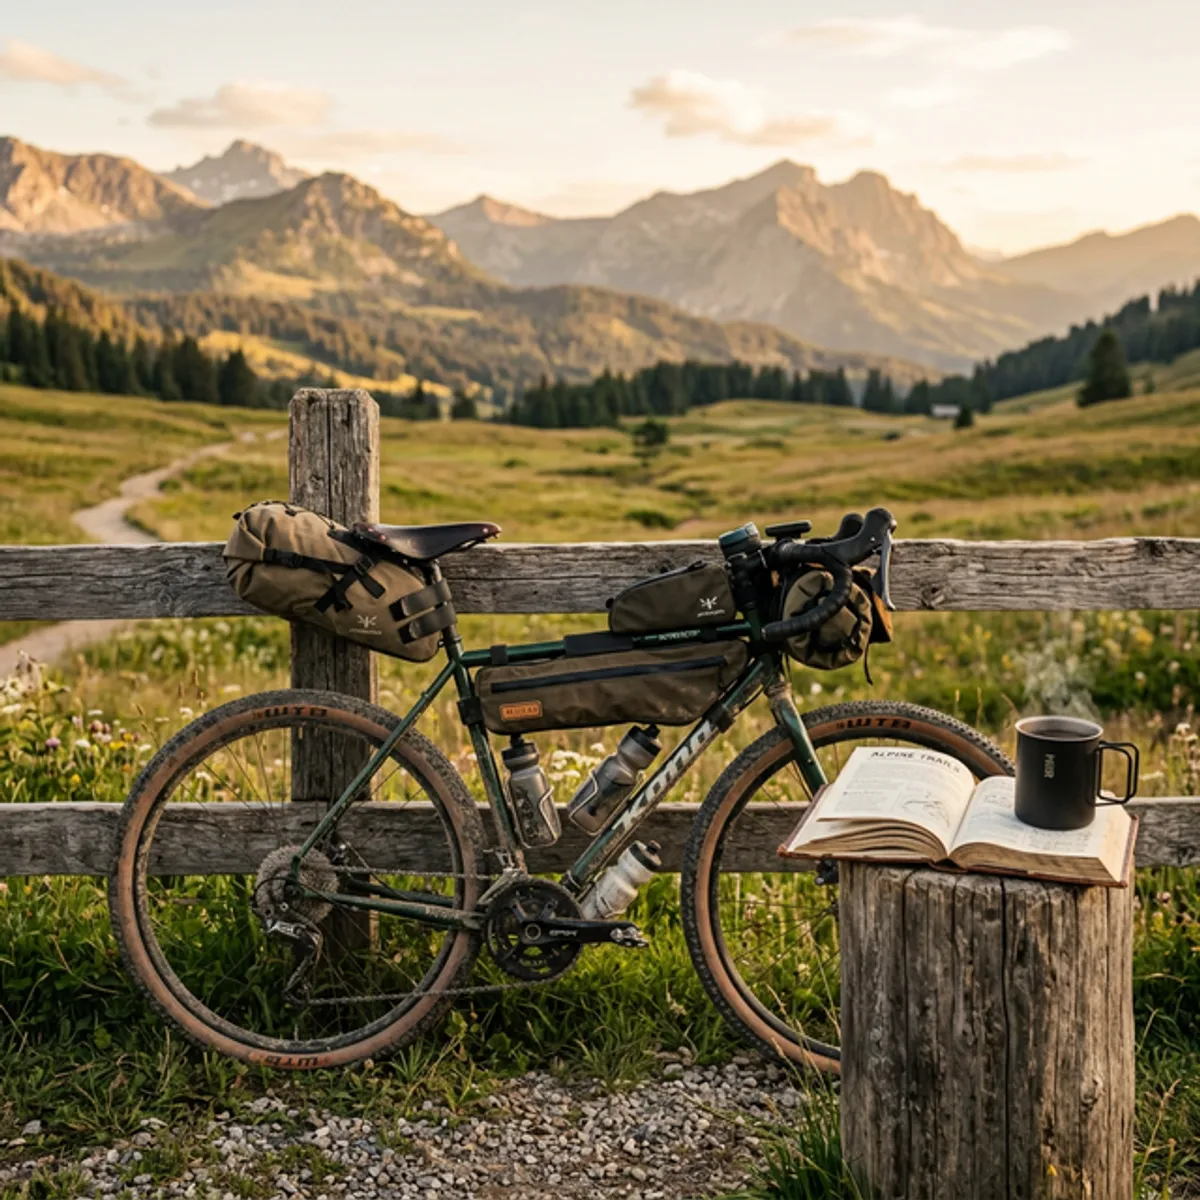
Save weight and space on your next tour with our favorite Kindle reads for bikepackers, from technical maintenance guides to global adventure memoirs.
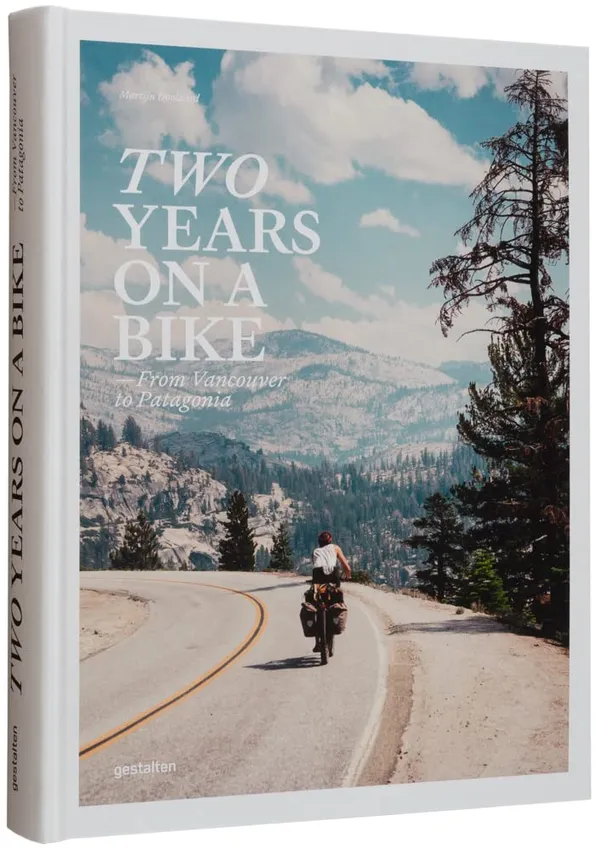
From practical guides like Bikepacking Illustrated to global epics like Two Years on a Bike, we review 13 essential books for every adventure cyclist's library.
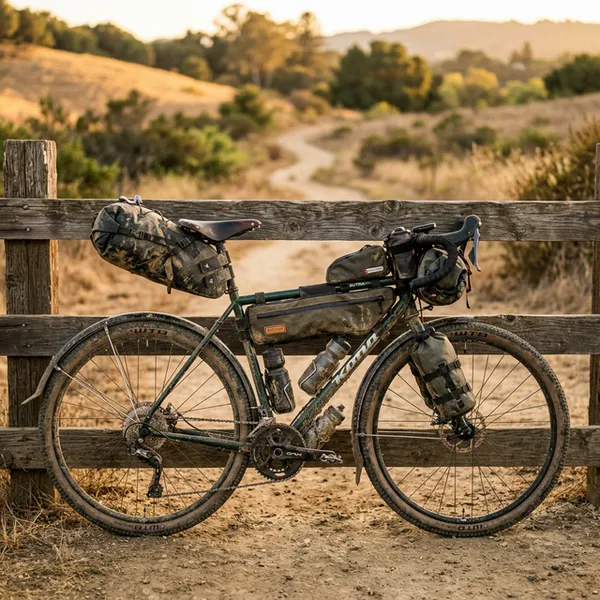
A swaying bikepacking saddle bag destroys your cornering and wastes energy. Learn how to pack your tail bag properly to completely kill the pendulum effect.
Based in Colorado, Ryan is the guy who spends his Friday nights plotting questionable out-and-back routes. He focuses on practical, budget-conscious setups that work. He's learned the hard way that you don't need a $500 tent to sleep well in the woods.